Many of our clients ask us about how to add a canonical tag to their Webflow websites. This is because, when migrating from other CMS platforms such as WordPress or Shopify, these systems automatically handle this task; however, on Webflow, you must manually configure your canonical tag as it is not set by default.
Despite its simplicity, it is surprising that many large Webflow websites don't set up their canonical global tag in Webflow (or set it up incorrectly). Fortunately, this process can be completed in mere minutes, and we will guide you through the process of how to do it properly.
Before going over the process of how to setup a global canonical URL on Webflow, it’s important to understand what is a canonical tag and why it’s important.
What is a canonical tag and why it is important?
Search engines are very robust algorithms that crawl, structure, and rank content based on a complex set of factors, however, one thing that they often fail at is properly identifying what is happening when multiple pages with different URLs (links) have the same content.
While for humans like us this may be obvious to identify, search engines may not instantly recognize this and may end up penalizing your domain for duplicated content.
And while you may think: “We only have one domain, so we shouldn’t have this problem” — You might get surprised to know that for search engines, just a small change in the URL can be seen as a duplicated page, for example:
- URL Parameters are seen as duplicated (for example www.domain.com?referrer=1)
- www vs. non-www is seen as duplicated (for example, www.domain.com is different from domain.com in the eyes of the search engine crawlers)
- HTTP vs. HTTPs is seen seen as duplicated (for example, https://domain.com is different from http://domain.com)
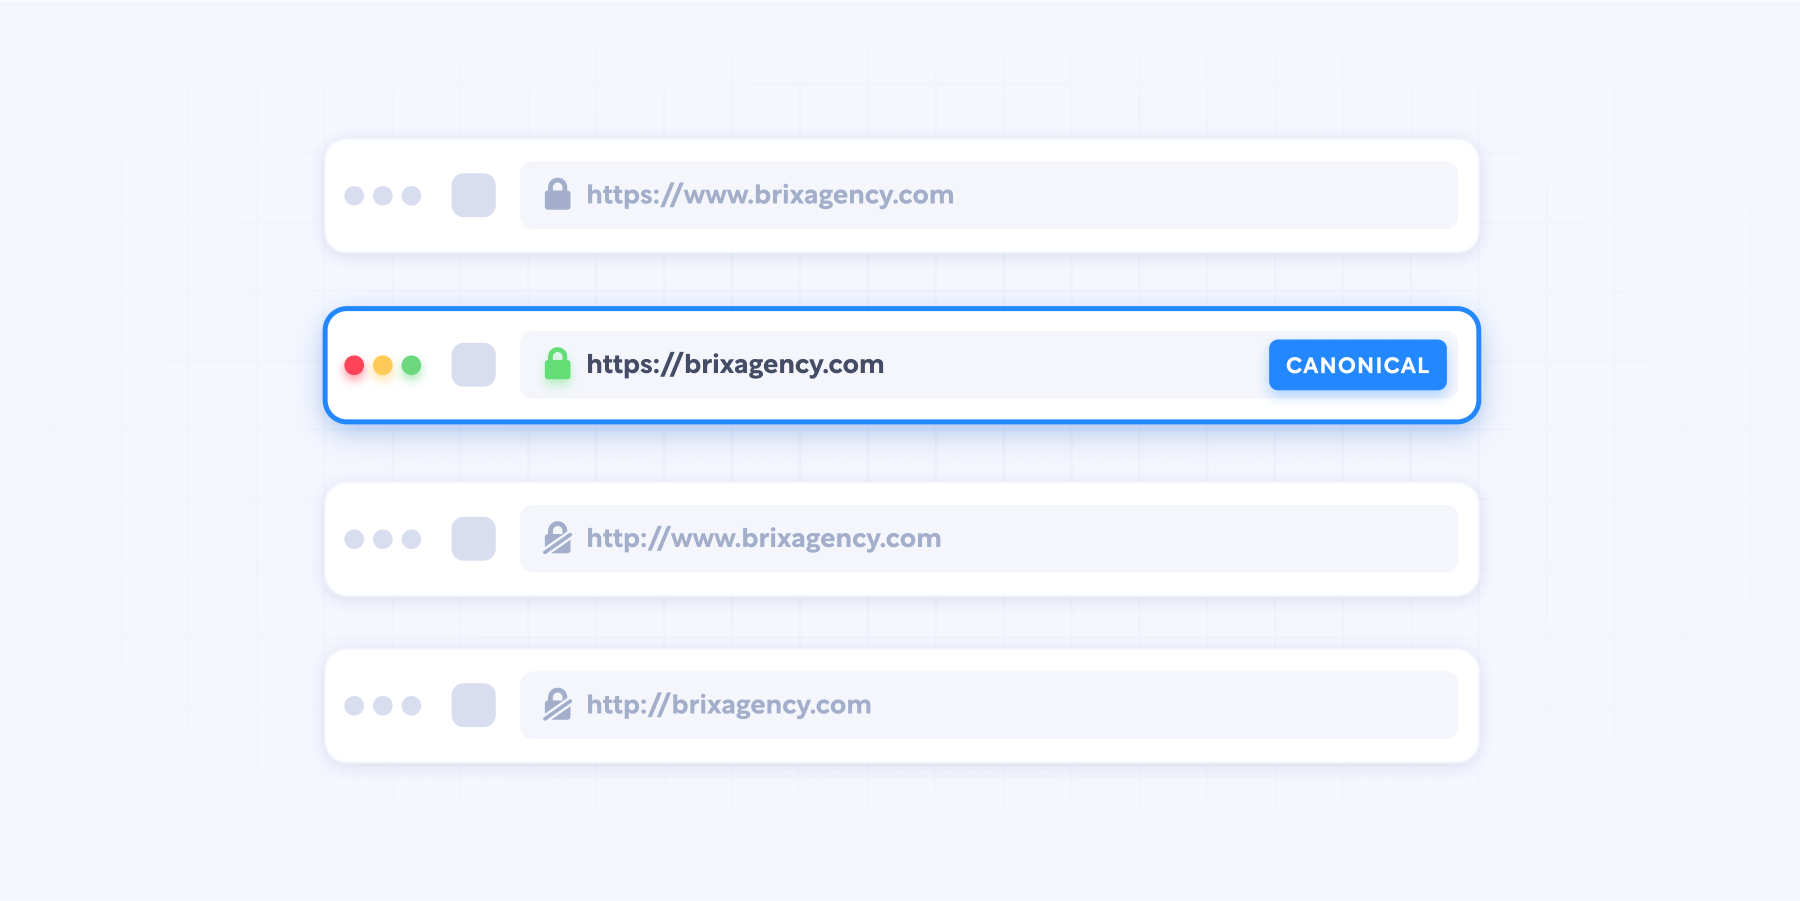
And that is when canonical tags come to the rescue, as they tell search engine crawlers that even though the website may have different pages with the same content, there is a main page, and they reference to it.
Because of this, it's core for on-page SEO optimization to have a canonical tag setup from the first moment you launch your website, so you can build SEO authority towards the defined canonical tag, and not a mix of a lot of different versions of the website.
Now that you understand the technical reason why a canonical tag is important, let’s explain how to set up a global canonical tag in your Webflow website.
How to setup a global canonical tag in your Webflow website?
Setting up a canonical tag in your Webflow website is easy as it gets.
In order to do it, you need to go into your Webflow Dashboard, then identify your Webflow project and go into Project Settings > SEO.
Once you are in there, you need to scroll to the bottom of the page and you will find the Global Canonical Tag setting.
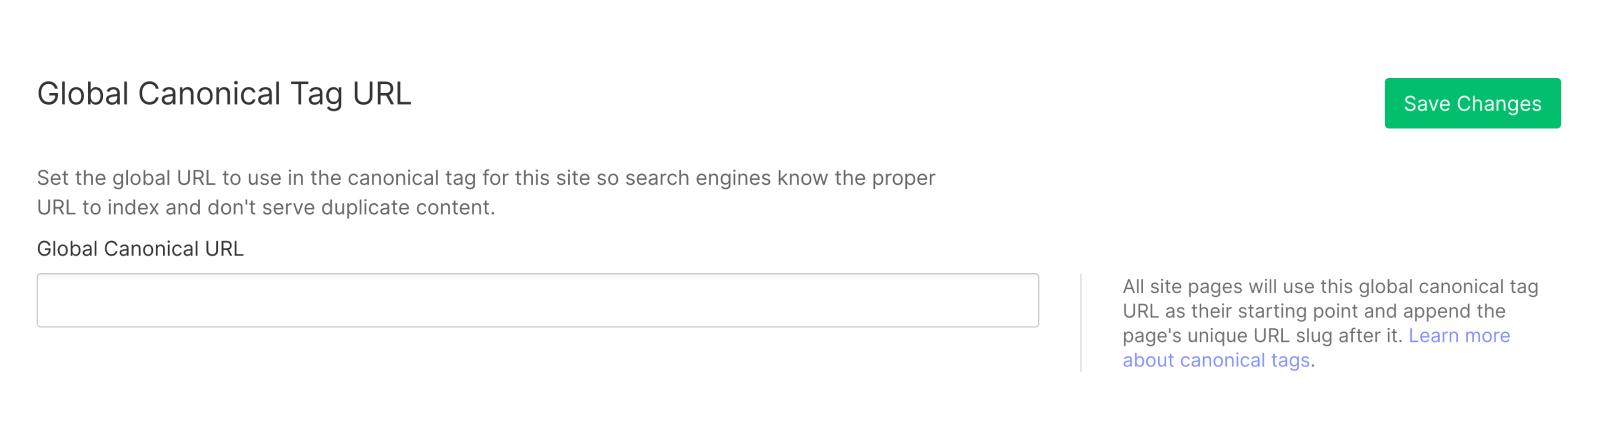
Once in there, you need to setup your domain on one of the following 2 formats depending if you want to use the non-www or www version.
⚠️ Please note that you should NOT add a slash ( / ) at the end of your domain. Just end it with the .com or any domain extension you are using.
And you may be wondering: “Should I use the non-www or www version?” — Well, that’s a very good question, but the answer is not always the same. In a nutshell, we would suggest the following:
- If you just launched your website or are about to launch and have never had a website before on that domain, the best practice is to use non-www.
- If you are launching a website redesign, meaning you did have a website before on that domain, the best practice is to keep using whichever version you were using before (no matter if it was www or non-www), otherwise all your URLs will get re-indexed under the new canonical, which could lead to a negative SEO impact in the near to mid-term.
If you are going with option 2, but are uncertain of what was your original canonical URL (www or non-www), you can easily identify it in two ways:
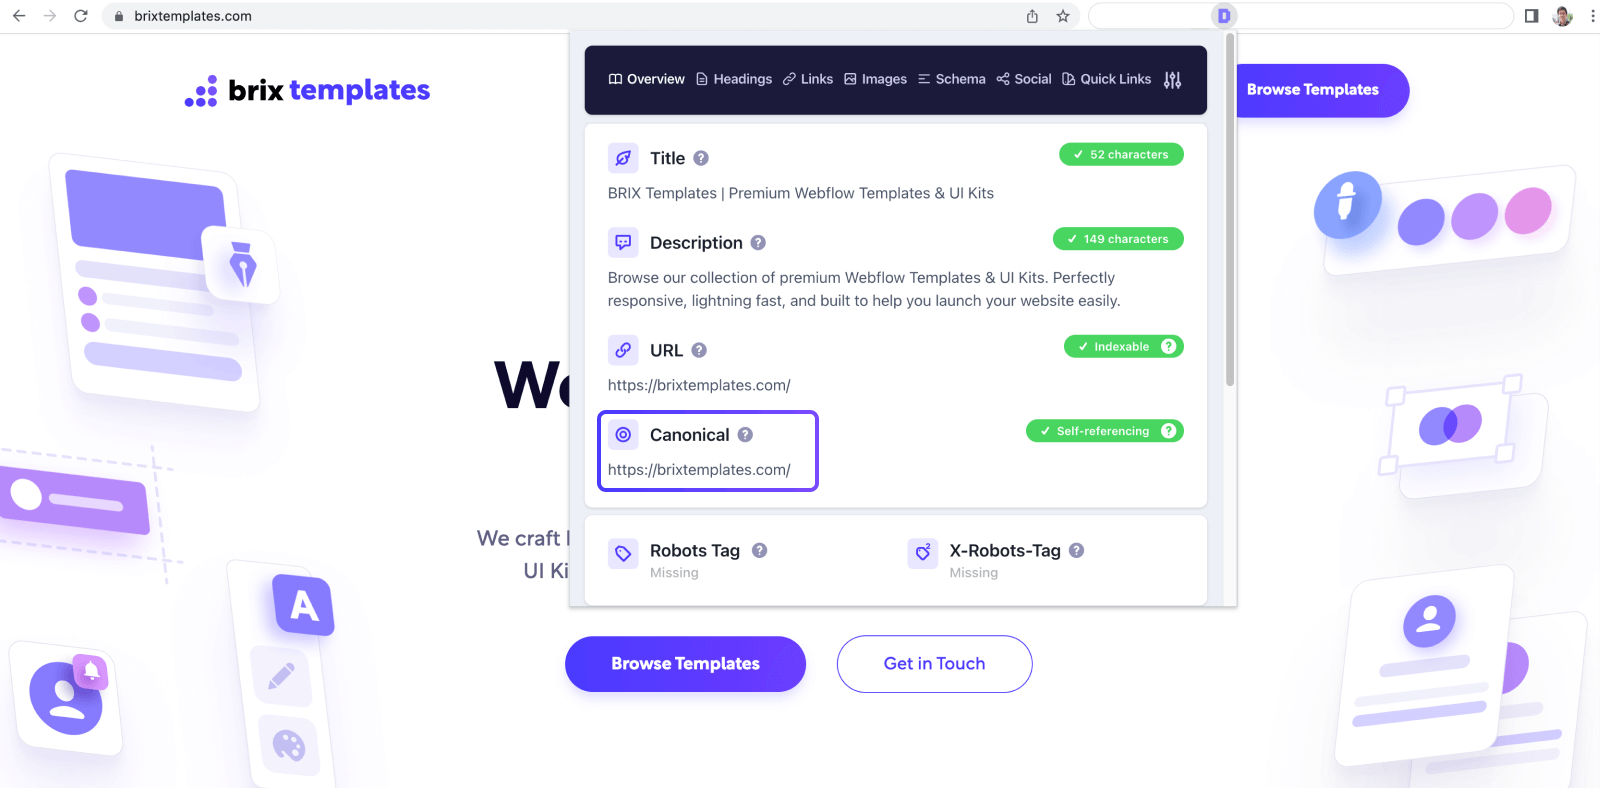
1. If your new Webflow website hadn’t launched yet, and you still have access to the previous website, you can easily download the Detailed Chrome Extension to see the canonical tag of your old website.
Once you install it, just activate it on your website and you will get the information as seen in the screenshot below.
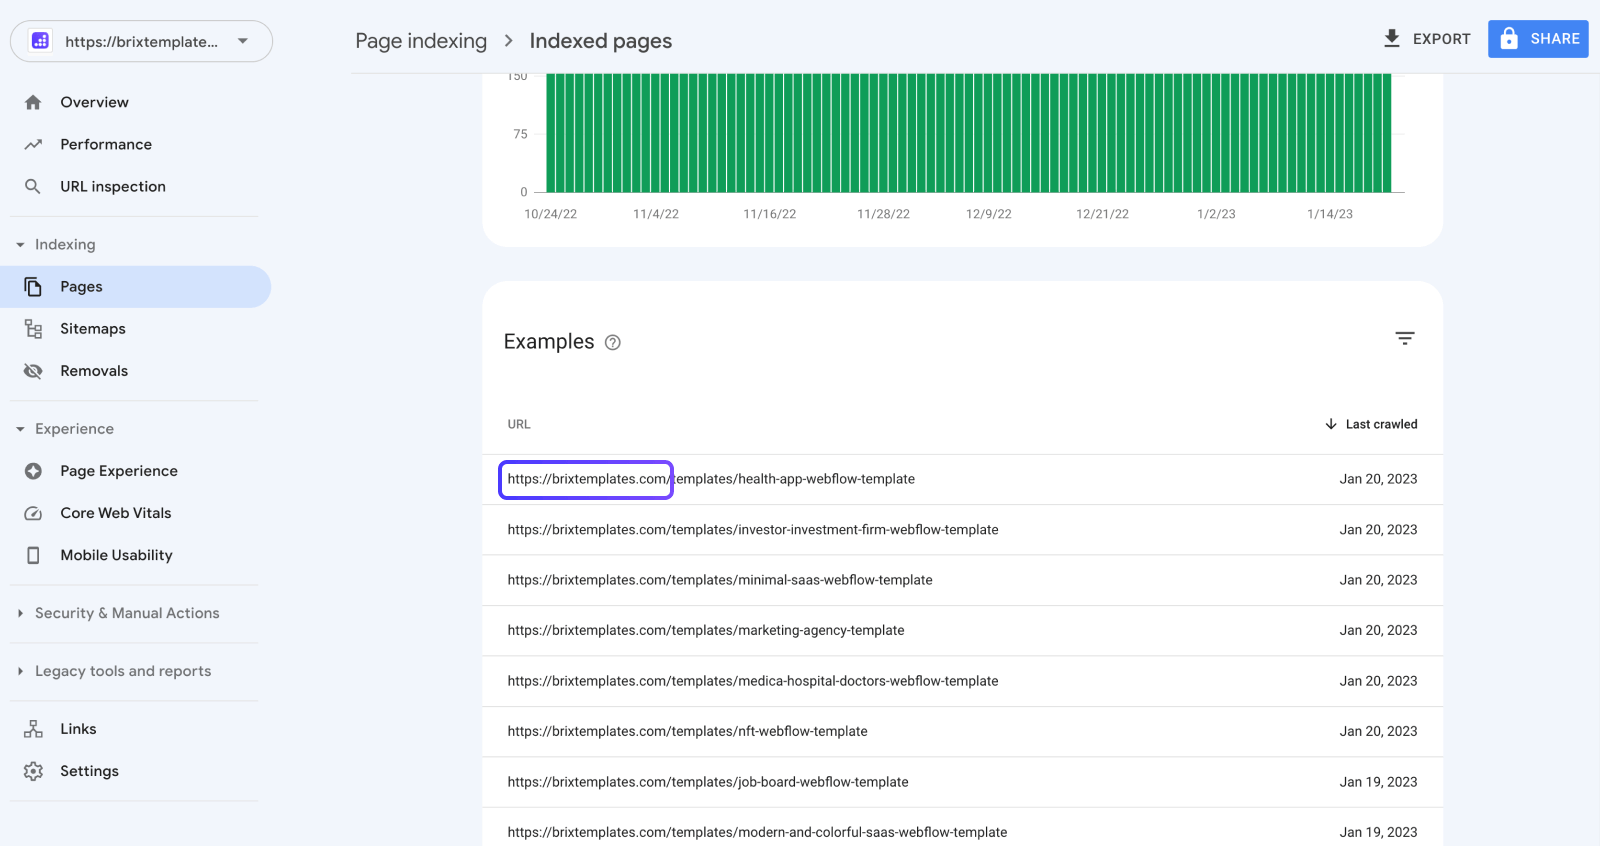
2. If your old website is already gone as you already launched your new Webflow website, you can easily identify which one was your previous canonical URL by going to Google Search Console, and then going to your Website Property > Sitemap, and checking the indexed URLs.
Once you added your Global Canonical Tag in the input, just click Save Changes, then re-publish your Webflow website, and you should be all set.
If you got lost, or need help with any step of this article, our stellar Webflow agency is here to assist. Click the call-to-action below to get in touch and our team will ensure that your website's on-page SEO optimization is properly done.