In the world of web design and development, Webflow has emerged as a powerful no-code tool for creating stunning websites without extensive coding knowledge. However, like any platform, it has its limitations.
One such limitation is the ability to send form submissions to different email addresses based on the form the user is filling out. This can be problematic for larger websites or organizations where different departments need to receive specific form submissions. For instance, you might want:
- Sales inquiries to go to the sales team
- Partnership proposals to reach the partnerships team
- Job applications to be sent to the human resources department
As we explore solutions for managing multiple form submissions in Webflow, it's important to clear up a potential source of confusion: Some outdated resources might point you towards using Webflow Logic. However, this feature has been in a state of limbo since May 2023, when Webflow halted its development (reference). The resulting instability and bugs make Webflow Logic a poor choice for handling form submissions.
Fortunately, there are workarounds to this limitation. In this guide, we'll focus on three easy, effective, and reliable methods to overcome this challenge and help you direct your Webflow form submissions to the appropriate email addresses.
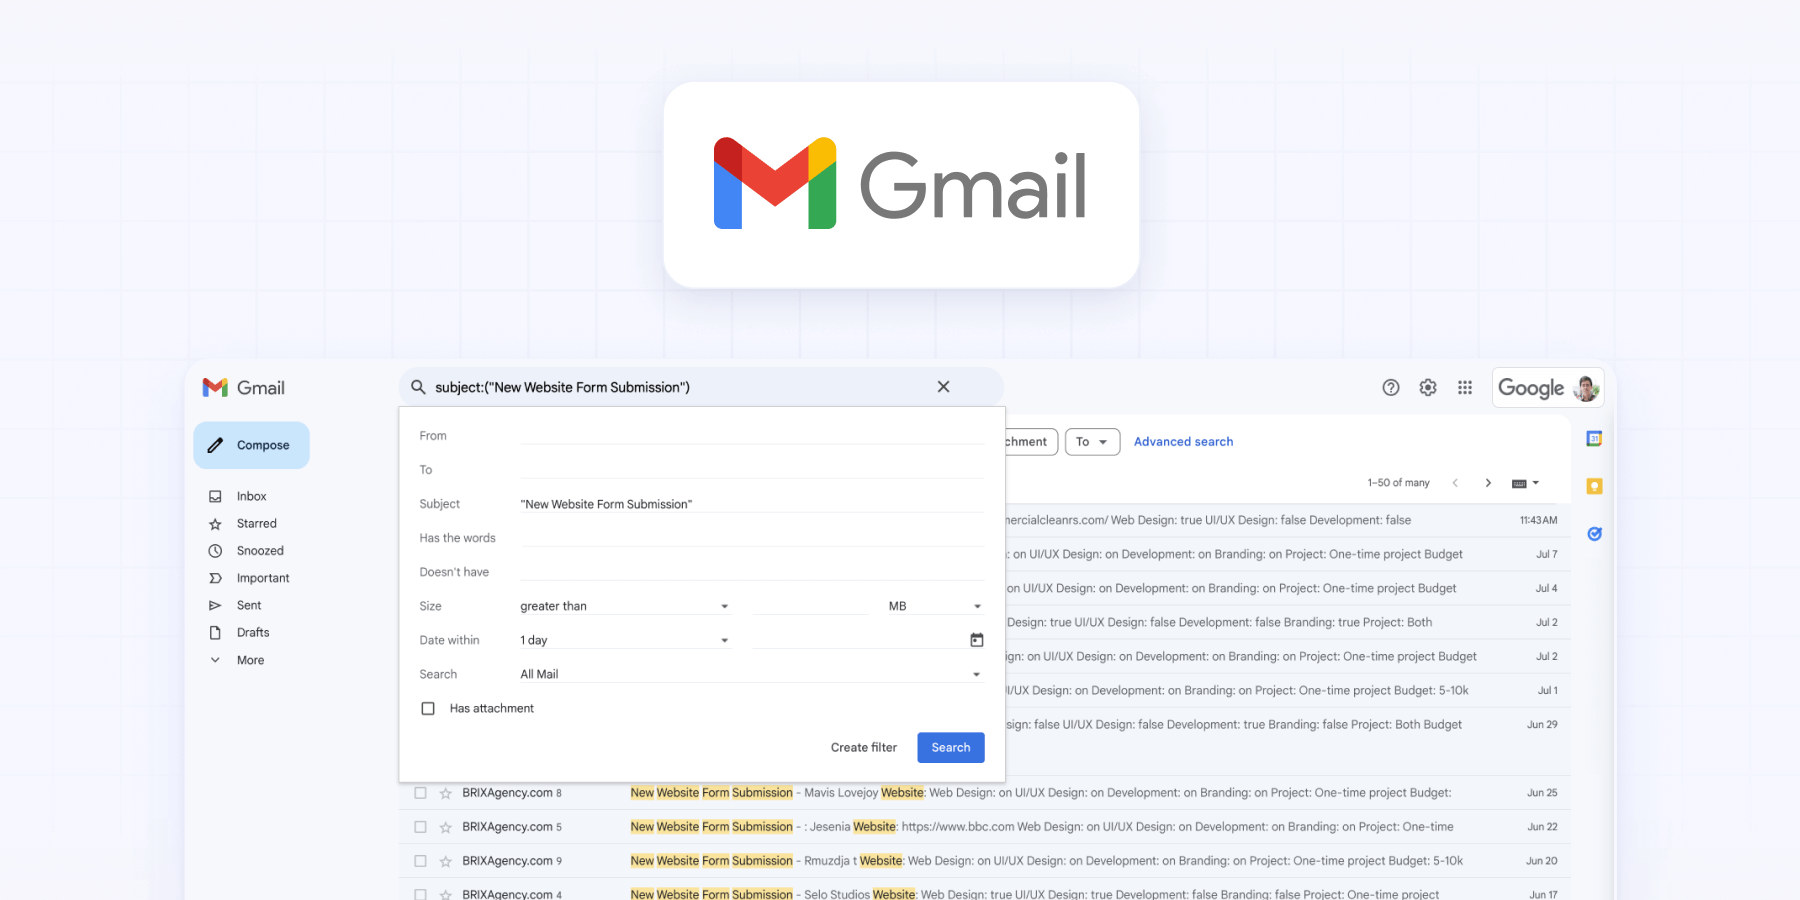
Method 1: Using Gmail filters
Gmail offers a powerful filtering system that can help you redirect emails based on specific criteria. This method is free, reliable, and relatively easy to set up.
Step 1: Configure your Webflow forms
- Log in to your Webflow account and open your project.
- In the Webflow Designer, locate and select each form on your site.
- Ensure each form has a unique and descriptive name (e.g., "Sales Inquiry Form", "Partnership Form", "Job Application Form"). Avoid generic names like "Form2".
- Navigate to the Webflow project settings.
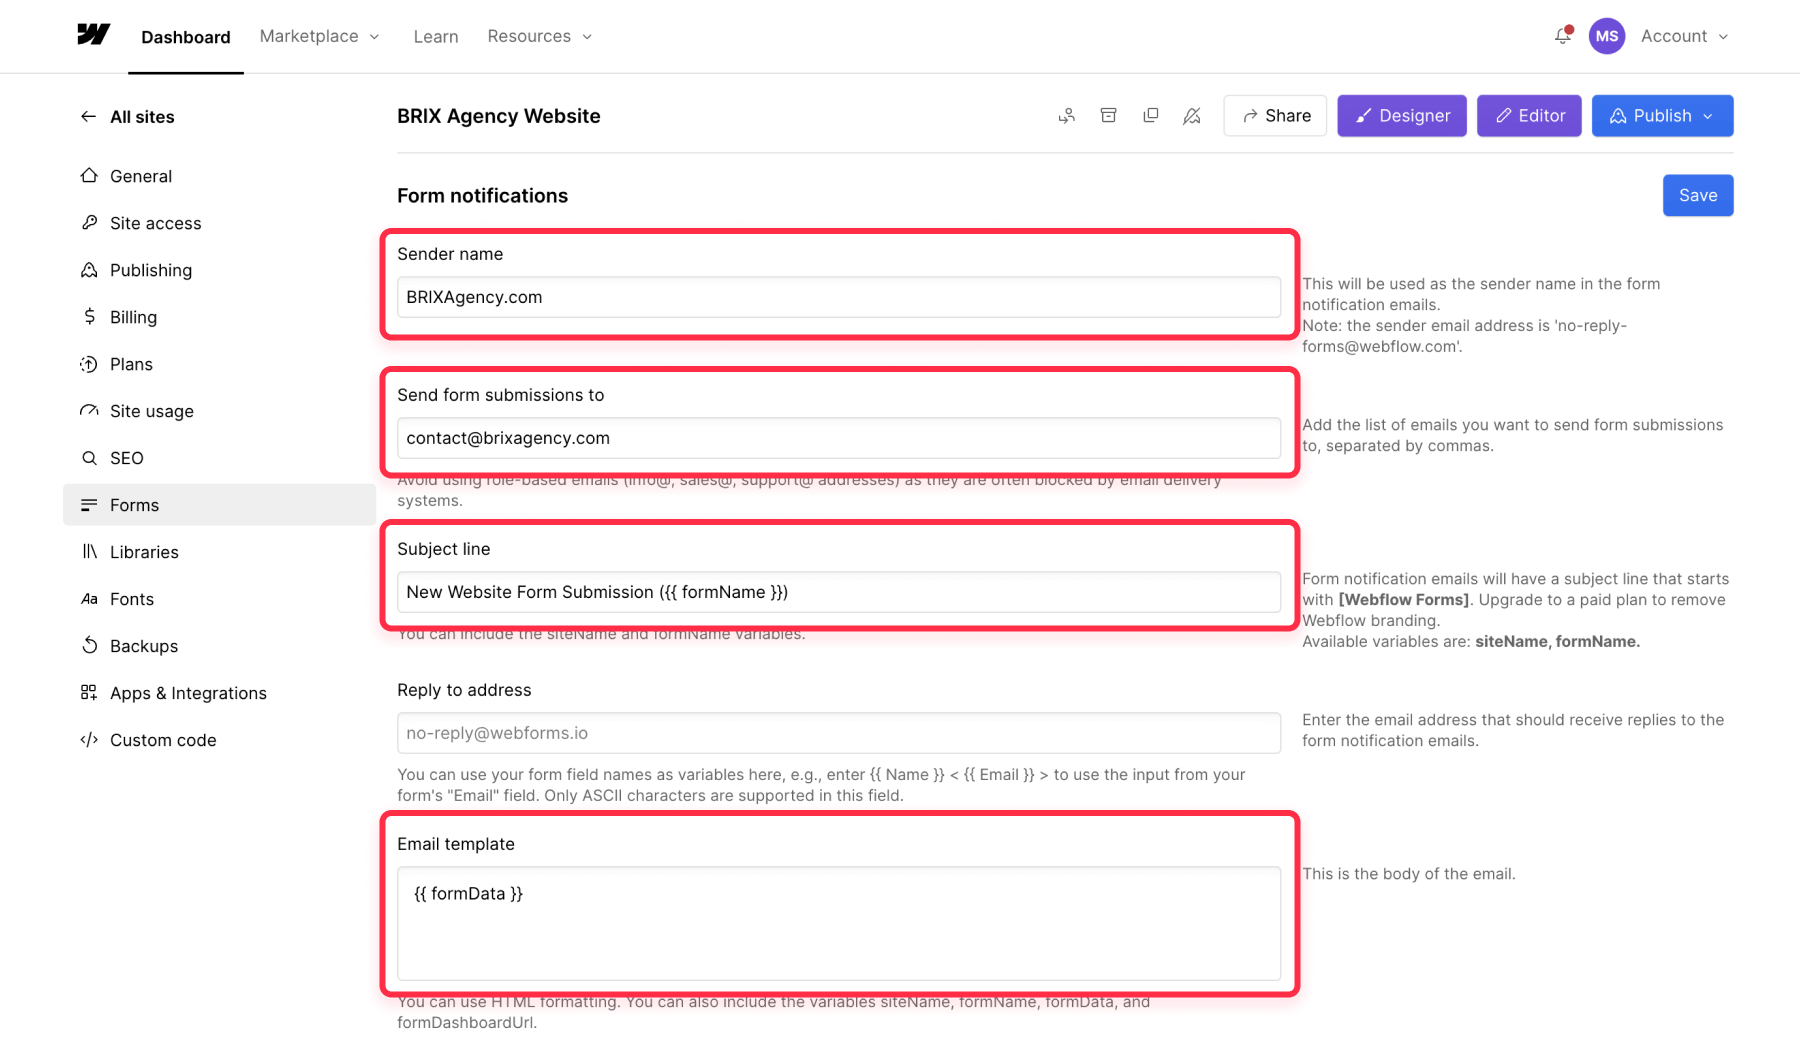
- Click on the "Forms" tab in the left sidebar and let's make sure the Form notifications data are properly setup.
- In the "Sender name" field, enter your website name (BRIXAgency.com) for example.
- In the "Send form submissions to" field enter the Gmail or Google Workspace address you are going to use for the forwarding.
- In the "Subject line" field , enter a format like this: "New Website Form Submission ({{ formName }})" — {{ formName }} is a variable that will be automatically replaced with your individual form's name (This will help you identify different forms in Gmail later).
- In the "Email template" section, ensure that the form data is included by using {{ formData }} variable.
Step 2: Set up Gmail filters
- Open Gmail.com in your web browser.
- Click on the gear icon in the top-right corner to open Settings.
- Select "See all settings" from the dropdown menu.
- Navigate to the "Filters and Blocked Addresses" tab.
- Scroll down and click on "Create a new filter".
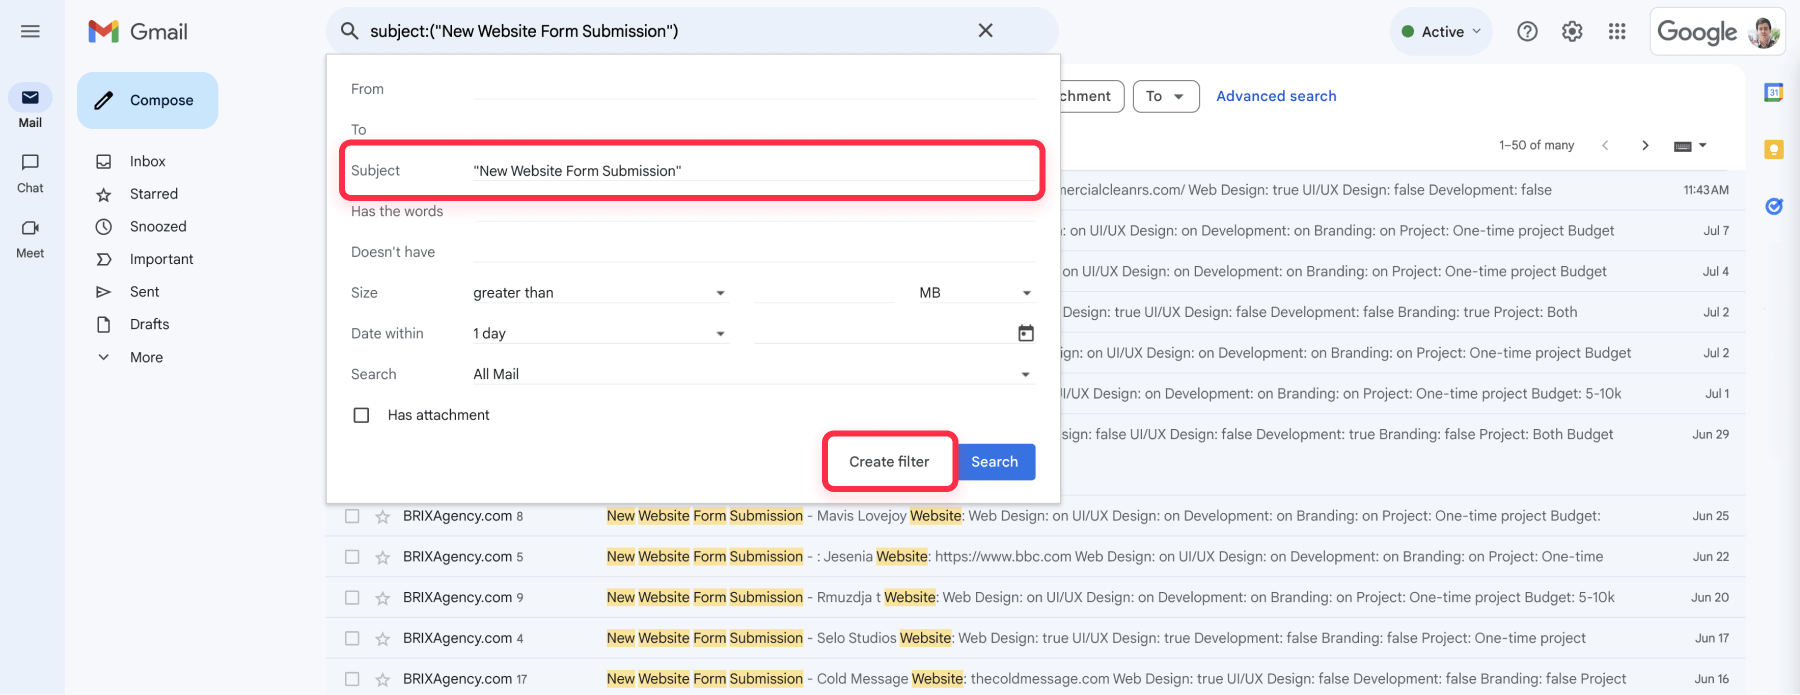
- In the "Subject" field, enter the subject line format you used in Webflow (e.g., "New Website Form Submission (Sales Inquiry)")
- Click "Create filter".
- In the next screen, check the box next to "Forward it to:" and select the appropriate email address for that form type.
- Click "Create filter" again to save your changes.
Repeat this process for each form type, adjusting the subject line and forwarding address as needed.
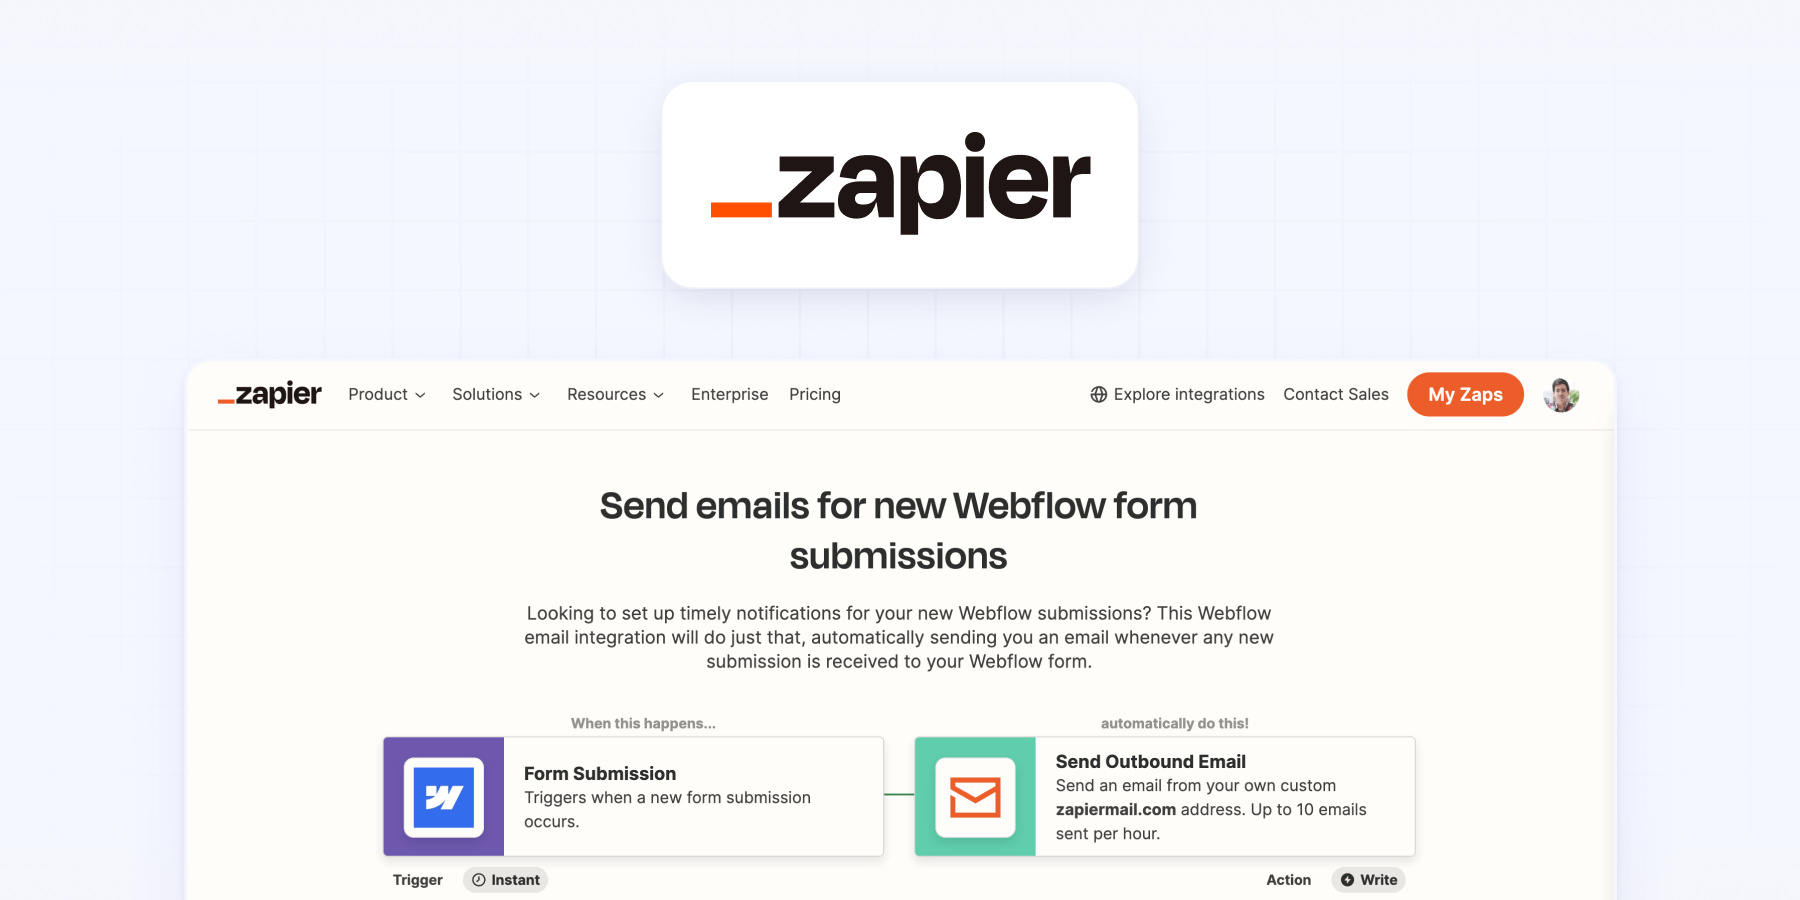
Method 2: Using Zapier
Zapier is a popular automation tool that can help you create workflows (called Zaps) to manage your form submissions.
Step 1: Set up your Zapier account
- Go to Zapier.com and sign up for an account if you haven't already.
- Once logged in, click on "Create Zap" to start a new workflow.
Step 2: Configure the trigger
- For the trigger app, search for and select "Webflow".
- Choose "New Form Submission" as the trigger event.
- Connect your Webflow account if you haven't already.
- Select the specific website and form you want to work with.
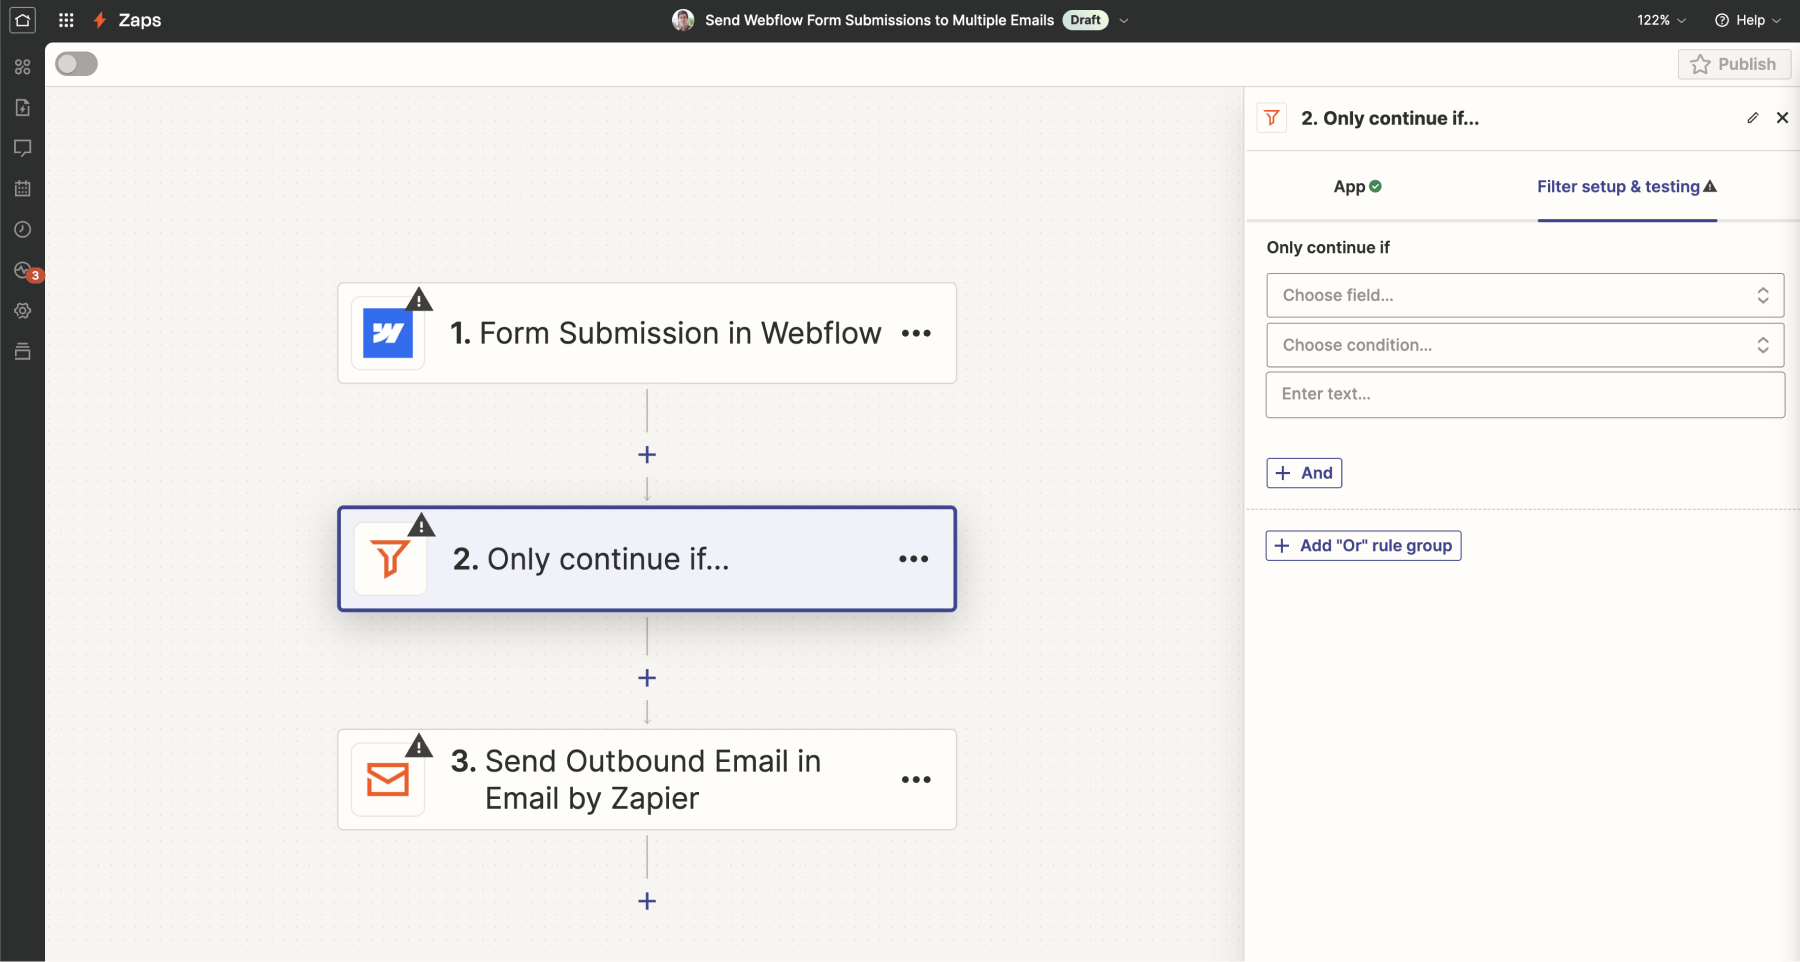
Step 3: Add filters
- Click the "+" icon after the trigger step.
- Select "Filter by Zapier" to add a filtering step.
- Set up conditions based on form to determine which submissions go to which email address.
Step 4: Set up the action
- Click the "+" icon after the filter step to add an action.
- For the action app, select "Email by Zapier" or your preferred email service.
- Choose "Send Email" as the action event.
- Configure the email settings:
- To: Enter the appropriate email address for this form type
- Subject: Use a format like "New {Form Name} Submission"
- Body: Include the form fields you want to forward
Step 5: Test and activate
- Test your Zap to ensure it's working correctly.
- If everything looks good, turn on your Zap.
Repeat this process for each form type, creating separate Zaps as needed. Please keep in mind that you may require a paid Zapier plan if you are creating multiple Zaps or having a high volume of form submissions.

Method 3: Using form handlers
If you are looking for a more comprehensive and advanced solution, form handlers are third-party services designed to manage form submissions. Form handlers provide a comprehensive solution for managing form submissions, often with more flexibility and features than native Webflow forms.
Many customer relationship management (CRM) systems like HubSpot and Salesforce (with Pardot) also offer form handling capabilities, which can be particularly useful if you're already using these platforms for your business operations.
Some popular form handler services include:
The general steps for using form handlers in Webflow are the following:
- Sign up for a form handler service of your choice.
- Create a new form in the form handler dashboard.
- Configure the form settings, including the destination email address.
- Copy the form handler URL provided by the service.
- In the Webflow Designer, go to your form settings.
- Add the form handler URL as the POST action in your Webflow form.
- Customize any additional settings offered by your form handler service.
Conclusion
While Webflow's native form handling has limitations, these three methods provide effective solutions for sending form submissions to different email addresses. Choose the method that best fits your needs, technical expertise, and budget.
Remember to regularly test your forms and email routing to ensure everything is working as expected. As Webflow and third-party services evolve, stay informed about any changes that might affect your chosen method.
If you find yourself needing additional guidance or if you have other Webflow-related questions, our specialized Webflow agency is at your service. With our extensive experience in the platform, we're well-equipped to handle any Webflow challenge you might face. Don't let technical challenges slow you down – reach out to us for expert assistance.