Popups are a powerful tool for engaging website visitors, but they can quickly become annoying if they appear every time a user visits your site. In this article, we'll explore how to create a Webflow popup that appears only once, enhancing user experience and maintaining the effectiveness of your message.
The challenge with Webflow popups
Webflow makes it easy to create visually appealing popups with Webflow interactions. However, by default, these popups will appear every time a user loads or refreshes the page because Webflow interactions don't have native support for cookies or localStorage for frequency control. This can lead to a poor user experience, especially for returning visitors.
The solution: using local storage for Webflow popups
To solve this issue, we'll use JavaScript to store a small piece of data in the user's browser. This technique, known as local storage, allows us to remember if a user has seen the popup before and prevent it from appearing again for a specified period.
Local storage is a web storage mechanism that allows websites to store small bits of data in the user's browser. This data persists even after the browser window is closed, making it ideal for remembering user preferences or actions across sessions. In our case, we'll use it to store when the popup was last shown to the user.
Step-by-step implementation
Let's break down the process of implementing this solution:
1. Create your popup in Webflow
First, design your popup in Webflow. If you don't have one yet, you can either:
- Create one from scratch using Webflow's design tools.
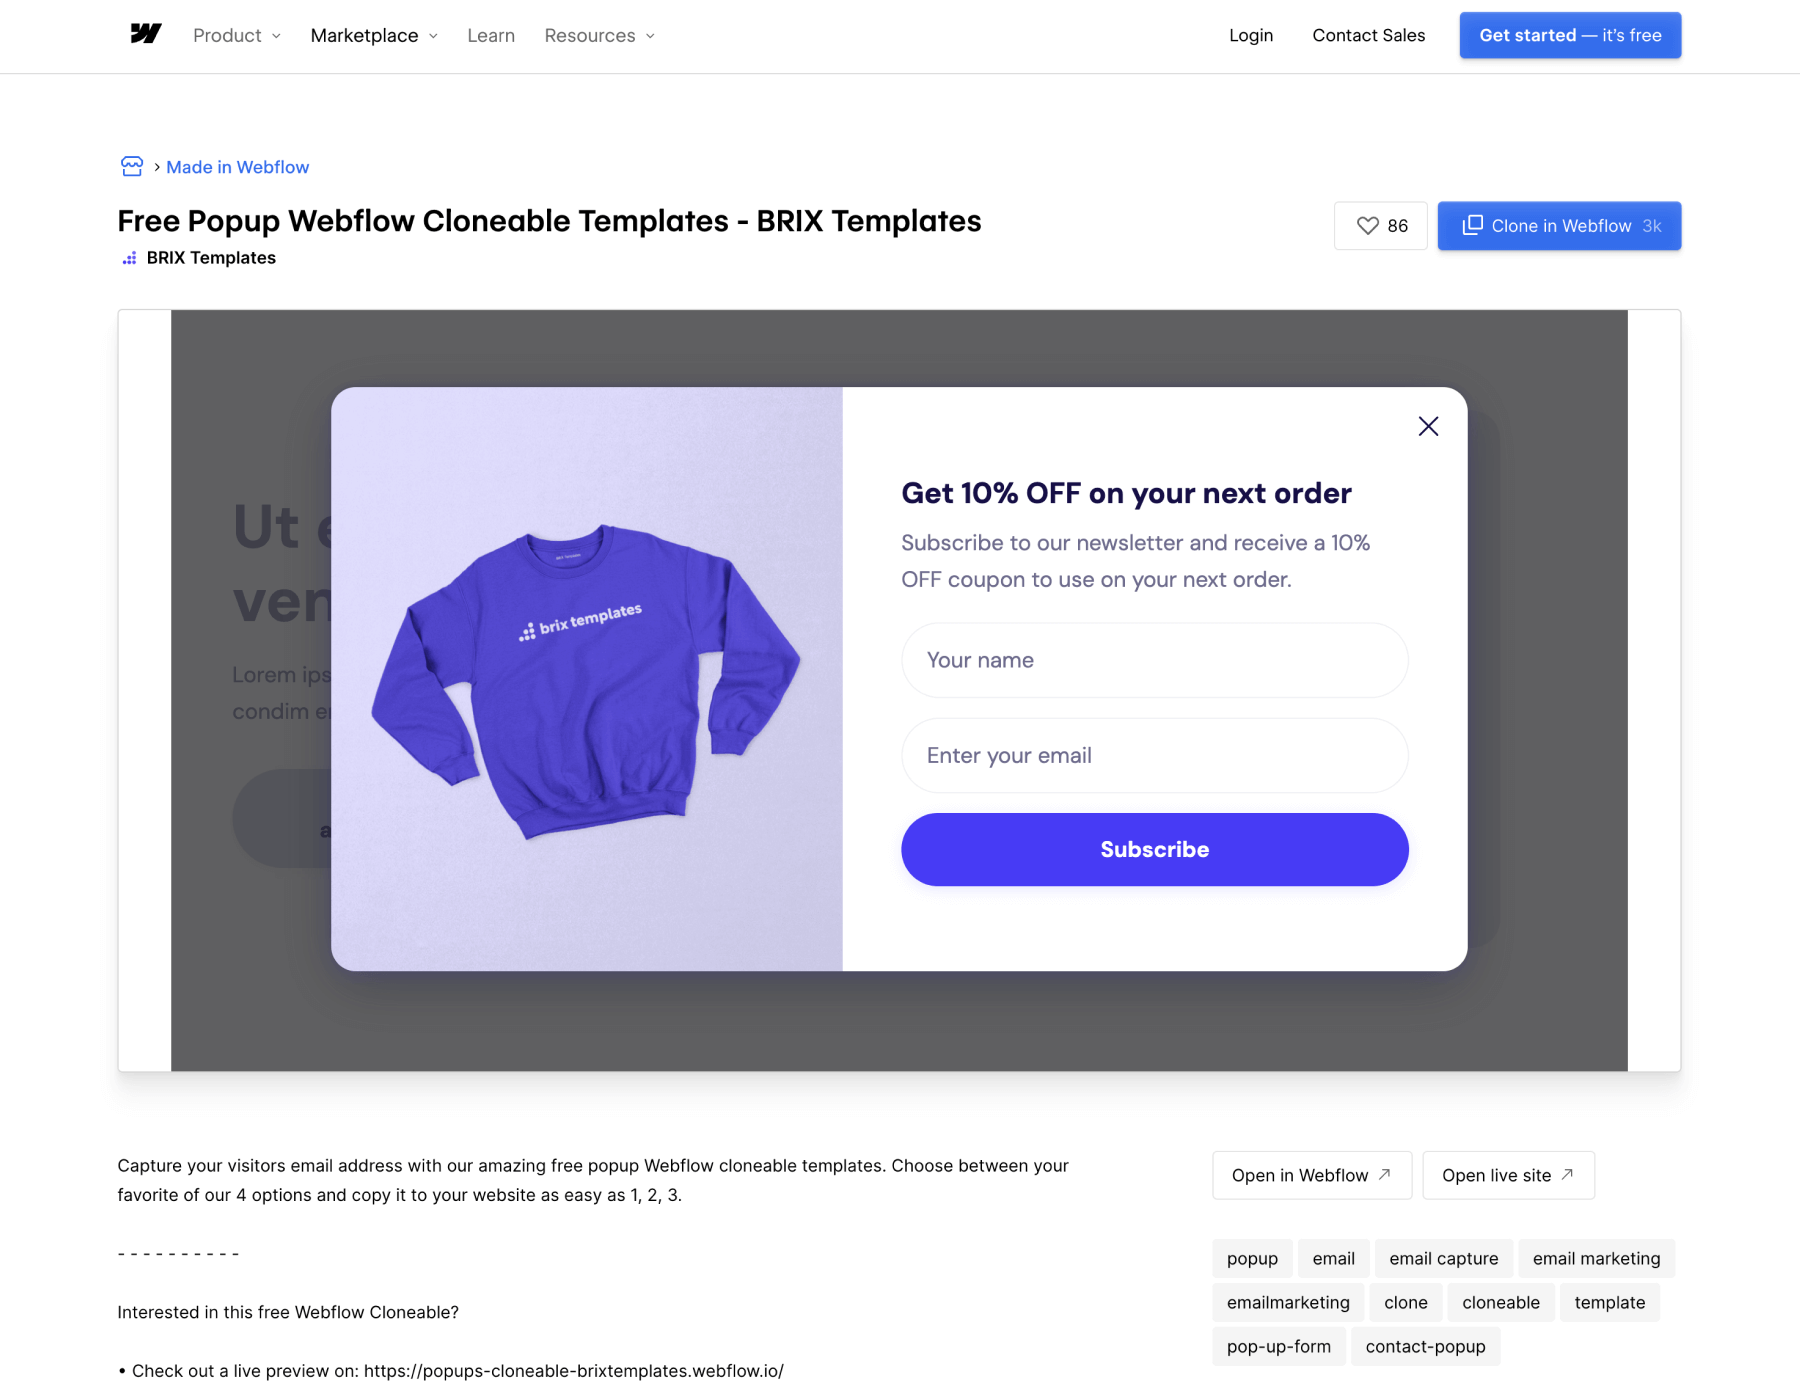
- Use a pre-made Webflow popup from our free cloneable, which includes 4 premium popup designs. These ready-to-use popups can save you time and provide nice-looking results right out of the box.
2. Set up the popup container
Once you have your popup designed:
- Create a new div element that will serve as the main container for your entire popup, including the background overlay.
- Place all elements of your popup (background overlay, popup content, close button, etc.) inside this new container div.
- Assign the unique ID 'popupLoader' to this main container div. This ID will be used in our JavaScript code.
- Set the display property of the popup container to "None" by default. This ensures the popup is hidden when the page first loads.
- Remove any appear Webflow interactions for the popup, as we will handle the appearance with JavaScript. The only interaction that should remain is the closing interaction.

3. Add custom JavaScript code
Now, we'll add the JavaScript code that controls when the popup appears. You can add this code in two ways:
- Page-specific: Add it to the custom code section of the specific page where you want the popup to appear.
- Site-wide: If you want the popup on all pages, add it to the general custom code section in Project Settings (and also ensure you have your popup as a component on all pages).
The code to add is the following:
// Function to show the popup with a fade-in animation
function showPopup() {
    const popup = document.getElementById('popupLoader');
    if (popup) {
        popup.style.display = 'block';
        popup.style.opacity = '0';
        let opacity = 0;
        const fadeIn = setInterval(() => {
            if (opacity < 1) {
                opacity += 0.1;
                popup.style.opacity = opacity.toString();
            } else {
                clearInterval(fadeIn);
            }
        }, 30);
    }
}

// Function to set the popup display time in localStorage
function setPopupDisplayTime() {
    try {
        localStorage.setItem('popupLastShown', new Date().getTime().toString());
    } catch (e) {
        console.error('Local storage is not available:', e);
    }
}

// Function to check if the popup should be shown
function shouldShowPopup() {
    try {
        const lastShown = localStorage.getItem('popupLastShown');
        if (!lastShown) {
            return true;
        }

        const currentTime = new Date().getTime();
        const timeDifference = currentTime - parseInt(lastShown, 10);
        const daysSinceLastShown = timeDifference / (1000 * 3600 * 24);

        // Change this value to adjust how often the popup appears (in days)
        const daysBeforeShowingAgain = 7;

        return daysSinceLastShown >= daysBeforeShowingAgain;
    } catch (e) {
        console.error('Error checking popup display condition:', e);
        return true; // Show popup if there's an error
    }
}

// Main function to handle popup display
function handlePopupDisplay() {
    if (shouldShowPopup()) {
        showPopup();
        setPopupDisplayTime();
    }
}

// Event listener for when the DOM is fully loaded
document.addEventListener('DOMContentLoaded', handlePopupDisplay);
Let's break down this code and explain its functionality in a logical sequence:
- When the webpage loads, the code checks if it should show the popup.
- To decide this, it looks in the browser's local storage for a record of when the popup was last shown.
- If there's no record (meaning the user hasn't seen the popup before), the popup is displayed.
- If there is a record, the code calculates how many days have passed since the popup was last shown.
- If enough days have passed (7 days in this example, but you can change this easily), the popup is shown again.
- When the popup is shown, the current date and time are saved in local storage.
This process ensures that returning visitors don't see the popup too frequently, improving their experience on your site.
4. Publish and test
After adding the code:
- Publish your Webflow site.
- Test the popup functionality:
- Visit the site and ensure the popup appears.
- Close the popup and refresh the page. It should not reappear.
- Clear your browser's cache or use a different browser to verify that the popup appears for new visitors.
If you followed the instructions, your popup should work as intended. If, on the other hand, you are having trouble with it, feel free to reach out and our amazing Webflow agency can give you a hand!
Advanced customizations
Once you've implemented the basic functionality, you can consider these advanced customizations:
- Multiple popups: Adapt the code to handle multiple popups by using unique identifiers for each and adding different display limits for each.
- Conditional display: Add conditions to show different popups based on user behavior or page content.
- A/B testing: Implement variations of your popup to test which performs better.
If you're interested in creating more complex popups or need assistance with advanced functionality, our Webflow agency would be happy to help. No matter the complexity of your request or need, we have the expertise to bring your vision to life. Feel free to send us a message, and one of our team members will get back to you within 24 business hours.
Conclusion
By implementing this localStorage technique, you can create a more user-friendly experience with your Webflow popups. They'll appear at appropriate intervals, maintaining their effectiveness without overwhelming your visitors.
This method demonstrates how a little bit of custom code can significantly enhance the functionality of your Webflow site, allowing you to create more advanced functionality for your site.