In recent years, 3D models have become increasingly popular in web design, as they offer an engaging and interactive way to showcase products or services on websites. This article will guide you through 3 different methods to embed 3D models in Webflow, helping you choose the best option for your needs.
Why use 3D models in Webflow?
Before we dive into the methods, let's briefly discuss why you might want to use 3D models on your website:
- Enhanced visual appeal: 3D models can make your website more visually attractive and engaging.
- Improved product visualization: For e-commerce sites, 3D models allow customers to view products from all angles.
- Interactive experiences: Users can interact with 3D models, increasing engagement and time spent on your site.
- Showcasing complex designs: 3D models are excellent for displaying architectural designs, machinery, or other complex objects.
Now, let's explore the three methods for embedding 3D models in Webflow.
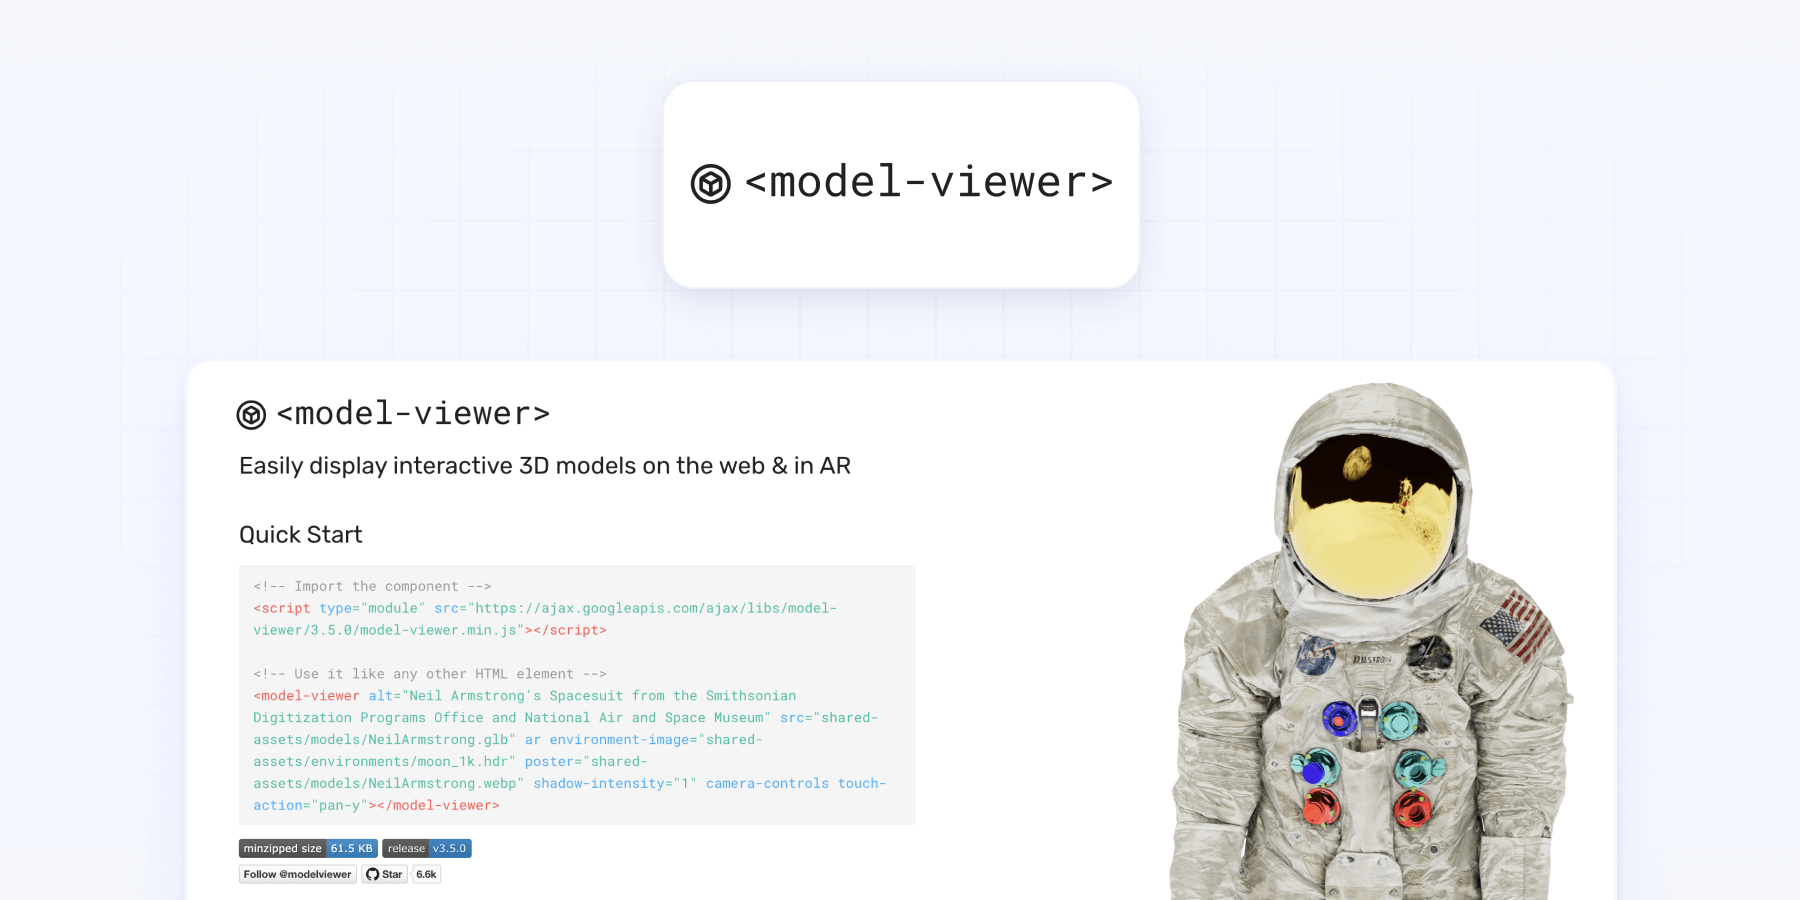
Method 1: Model Viewer by Google
Google's Model Viewer is a free, open-source library that allows you to easily embed 3D models on any website, including Webflow.
Benefits of Model Viewer
Model Viewer offers several benefits for embedding 3D models in Webflow. It's completely free to use, making it an attractive option for those on a budget. The implementation process is straightforward and can be completed in just a few minutes, making it ideal for users who need a quick solution. Its simplicity also makes it accessible to users with varying levels of technical expertise.
Model Viewer supports glTF and GLB file formats, which are widely used in the 3D industry. It utilizes WebGL for rendering, ensuring broad compatibility across modern browsers. As the library is actively maintained by Google, users can expect regular updates and improvements, keeping the tool relevant and efficient for embedding 3D models in Webflow.
How to implement Model Viewer:
Add the JavaScript code:
- In Webflow, go to the page settings where you want to add the 3D model.
- In the "Custom Code" section, add the following script to the "Before </body> tag" field:
<script type="module" src="https://ajax.googleapis.com/ajax/libs/model-viewer/3.5.0/model-viewer.min.js"></script>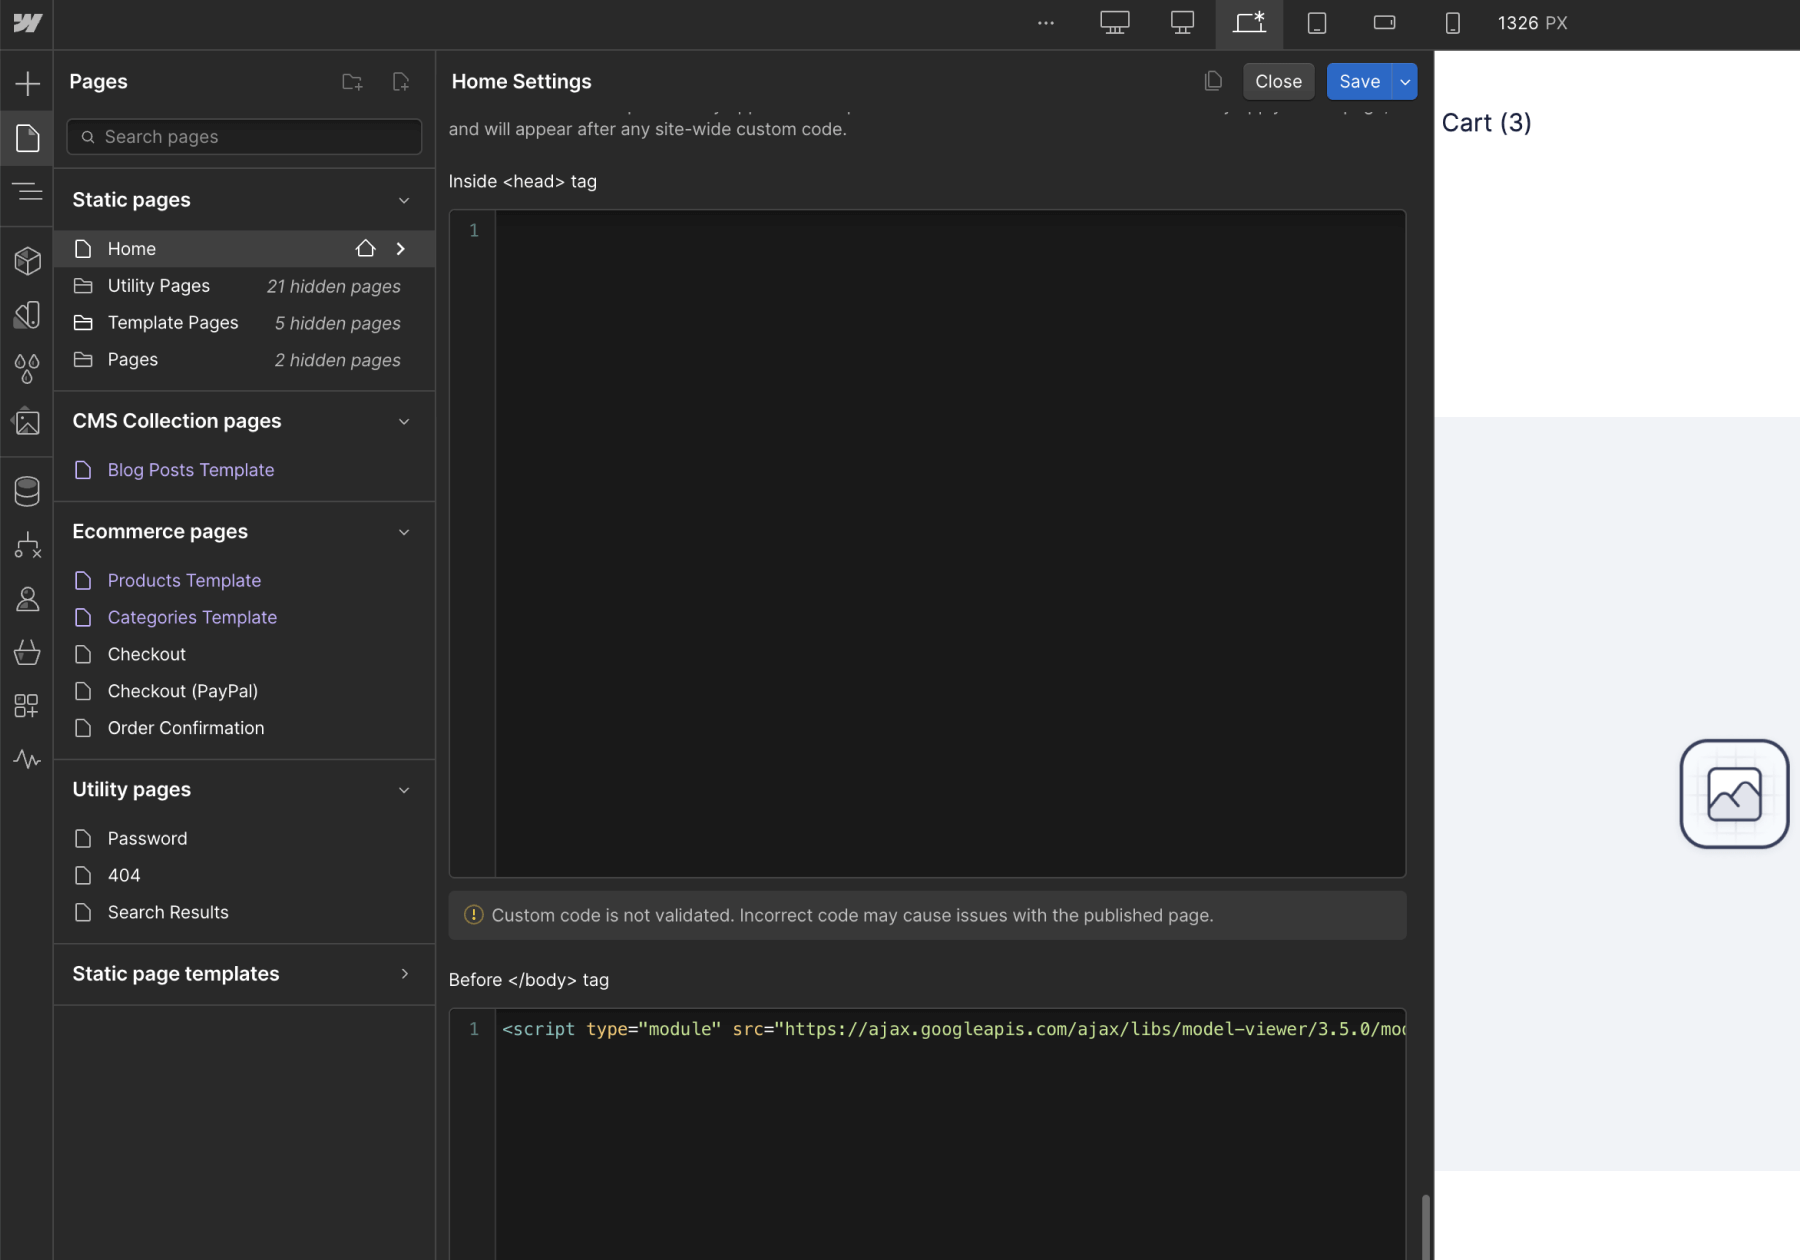
Insert the HTML code:
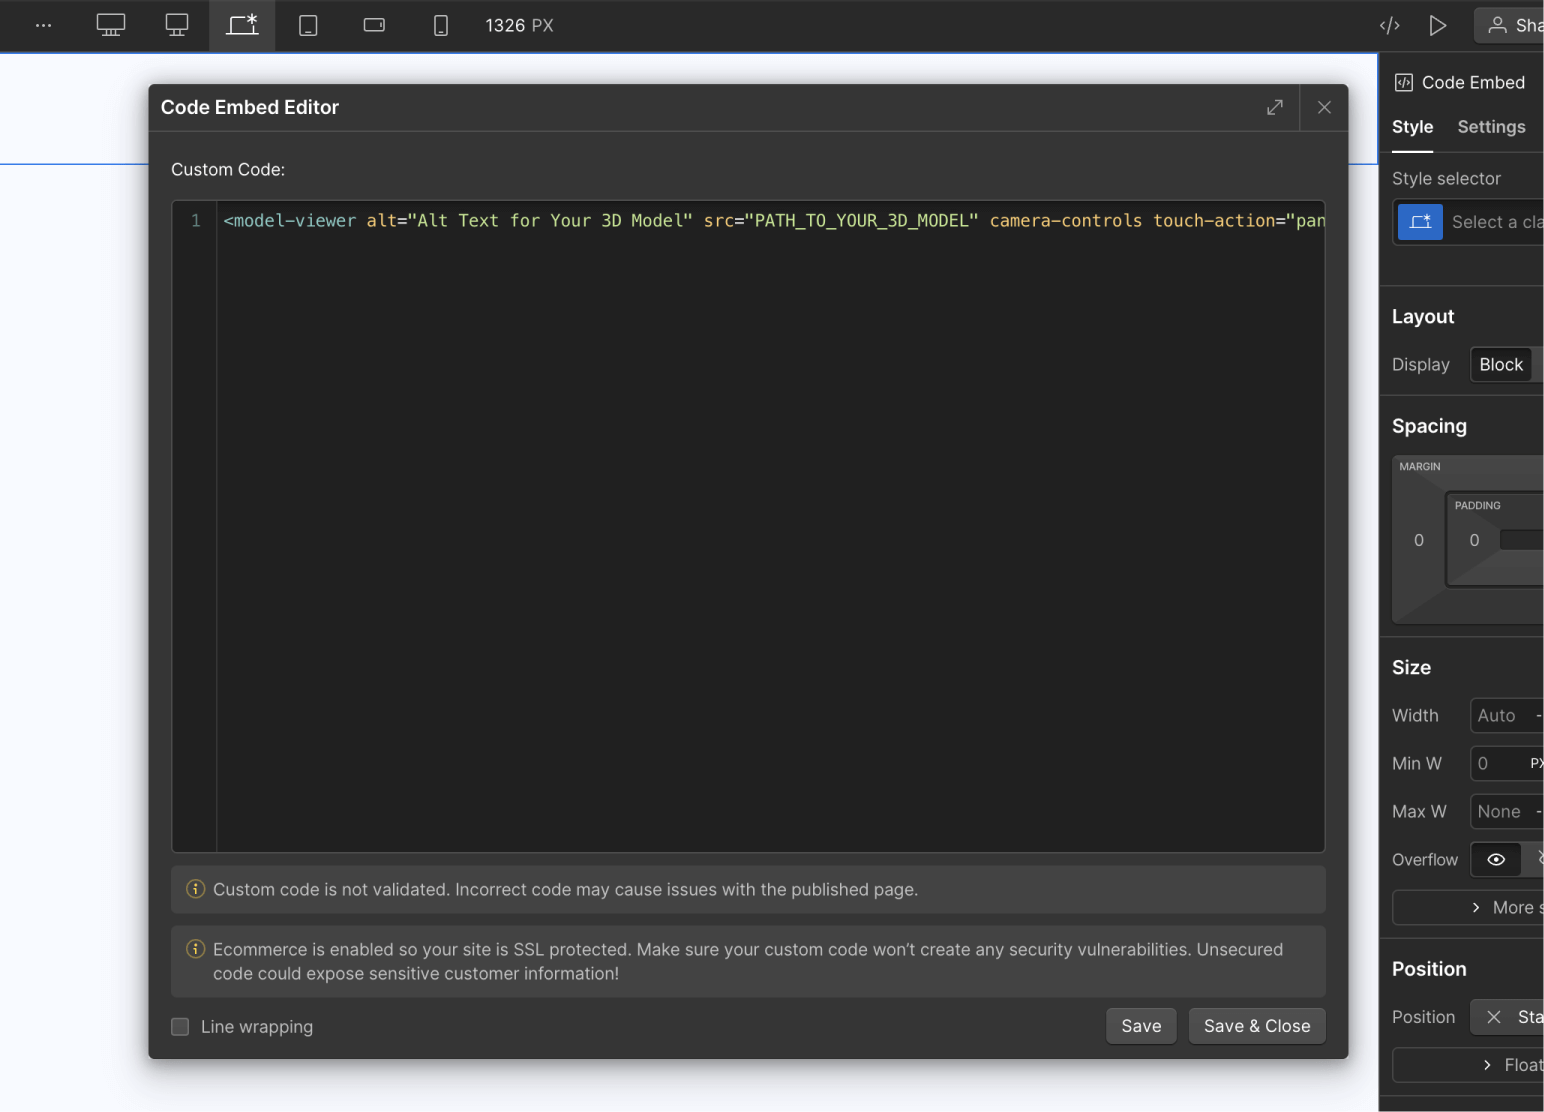
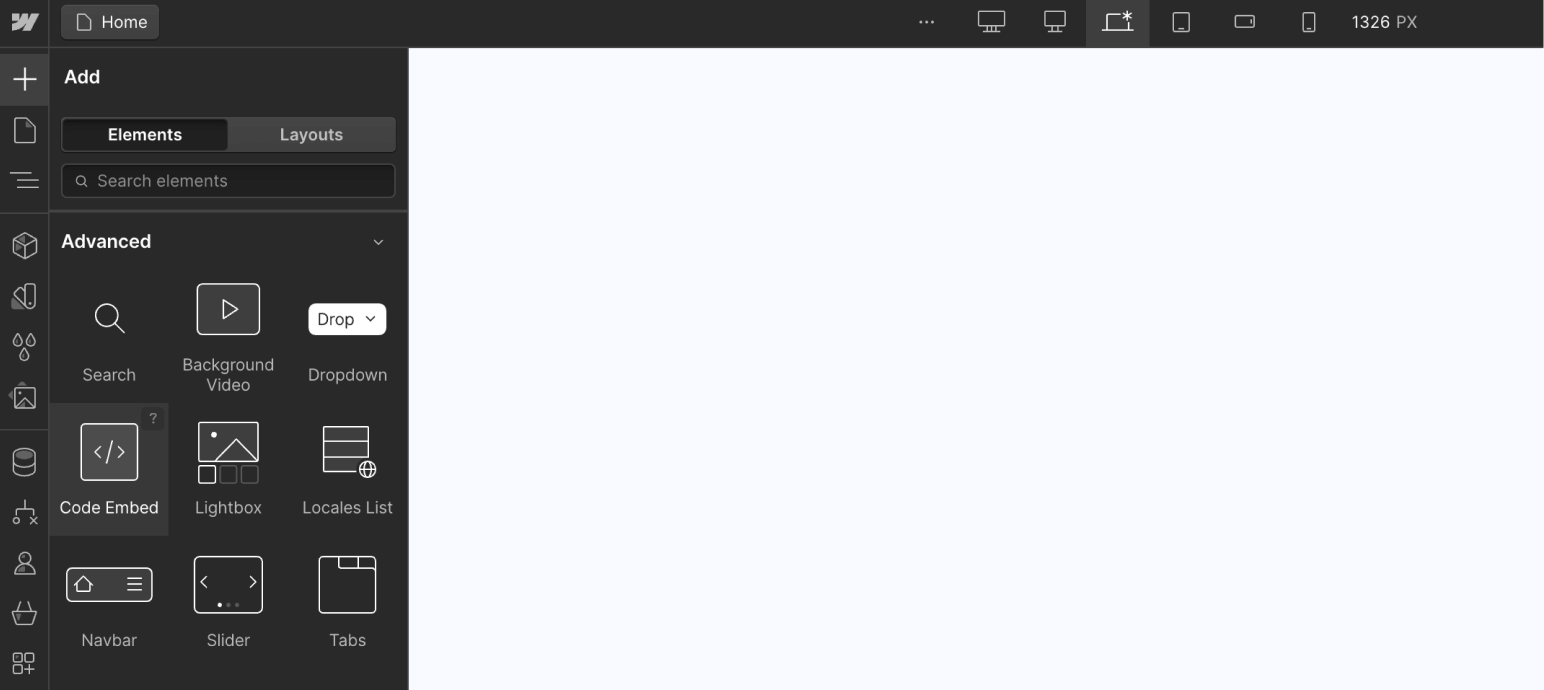
- In the Webflow Designer, add an "Code Embed" element where you want the 3D model to appear.
- Insert the following HTML code into the Embed element:
<model-viewer alt="Alt Text for Your 3D Model" src="PATH_TO_YOUR_3D_MODEL" camera-controls touch-action="pan-y"></model-viewer>Just make sure to replace "PATH_TO_YOUR_3D_MODEL" with the URL of your 3D model file (typically a .GLB or .GLTF file), as well as the Alt Text.
Customize the model viewer (Optional):
You can add various attributes to the <model-viewer> tag to control its appearance and behavior. For example:
- auto-rotate: Makes the model rotate automatically
- camera-controls: Allows users to interact with the model
- ar: Enables augmented reality viewing on supported devices
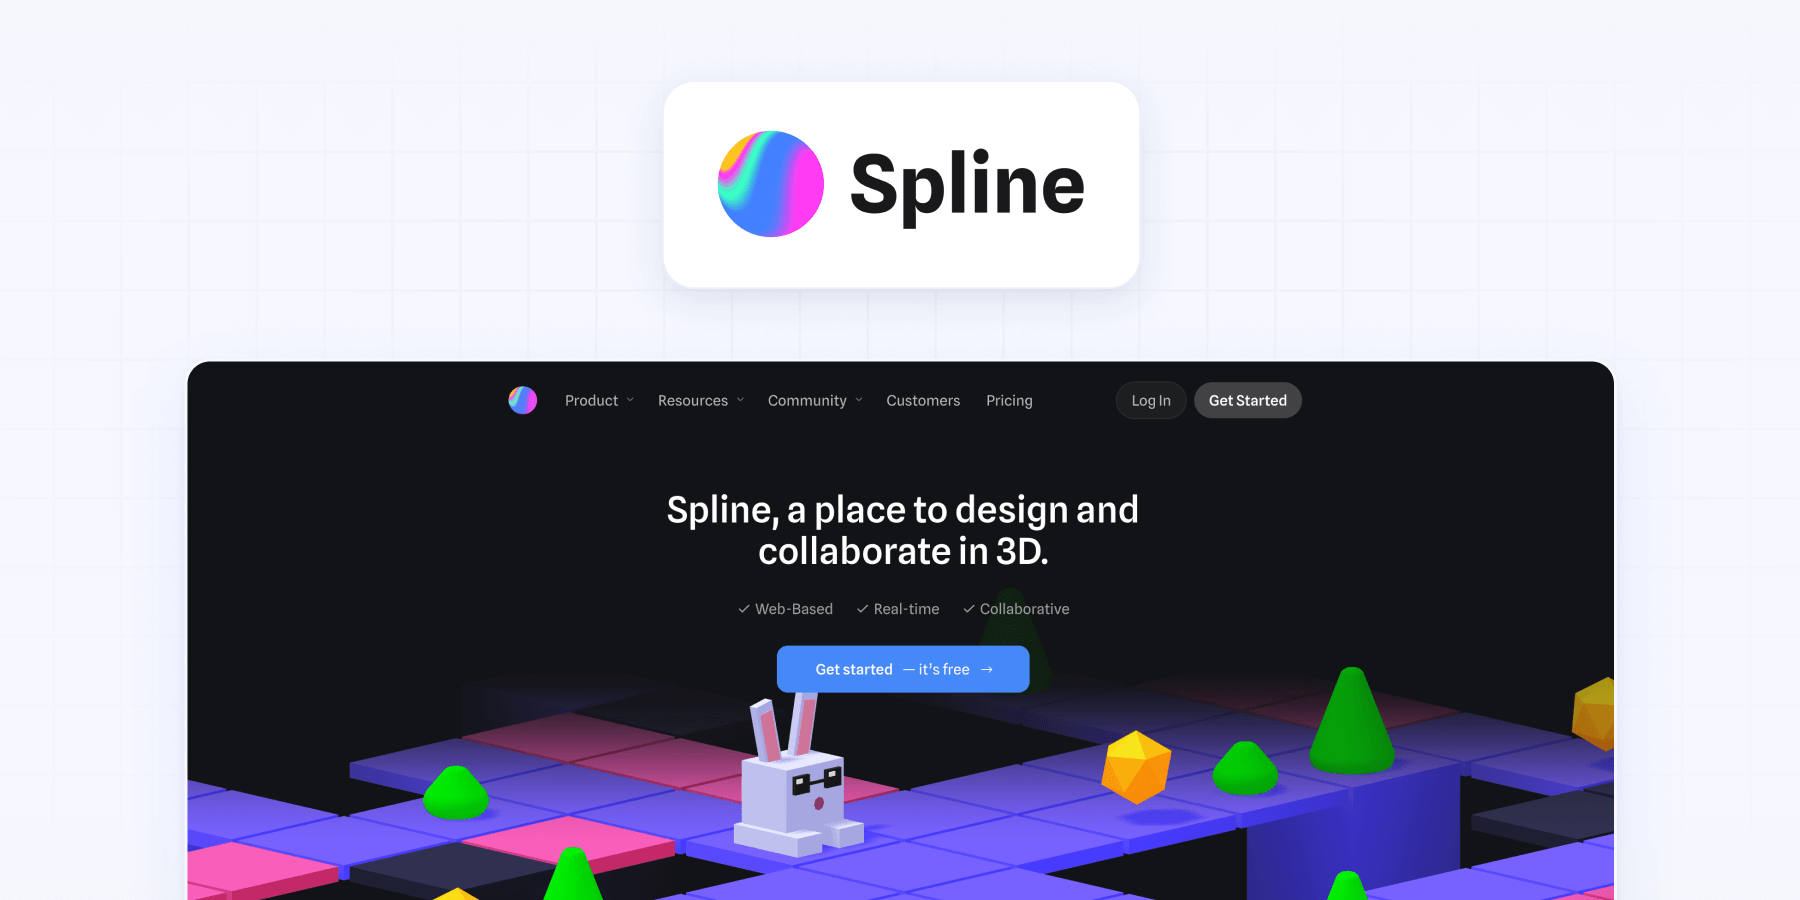
Method 2: Spline
Spline is a popular tool for creating and embedding 3D scenes. It offers native integration with Webflow, making it easy to add and manipulate 3D models directly in the Webflow designer.
It's important to mention that Spline requires a paid account to use the Webflow embedding feature. The cost is $30 per month when billed monthly, or $24 per month when billed annually.
Benefits of Spline
Spline offers several great benefits when adding 3D models to Webflow. 3D models are natively compatible with Webflow, which makes it easy to add them to the development workflow. Users can easily change 3D models with Webflow's built-in interaction tools, which don't need any custom code. And for people who want to design and build 3D elements on the same platform, Spline provides a complete solution by letting users make and change 3D models right on its platform.
How to implement Spline:
Create or import your 3D model in Spline:
- Go to spline.design and create an account or log in.
- Create a new project or import an existing 3D model.
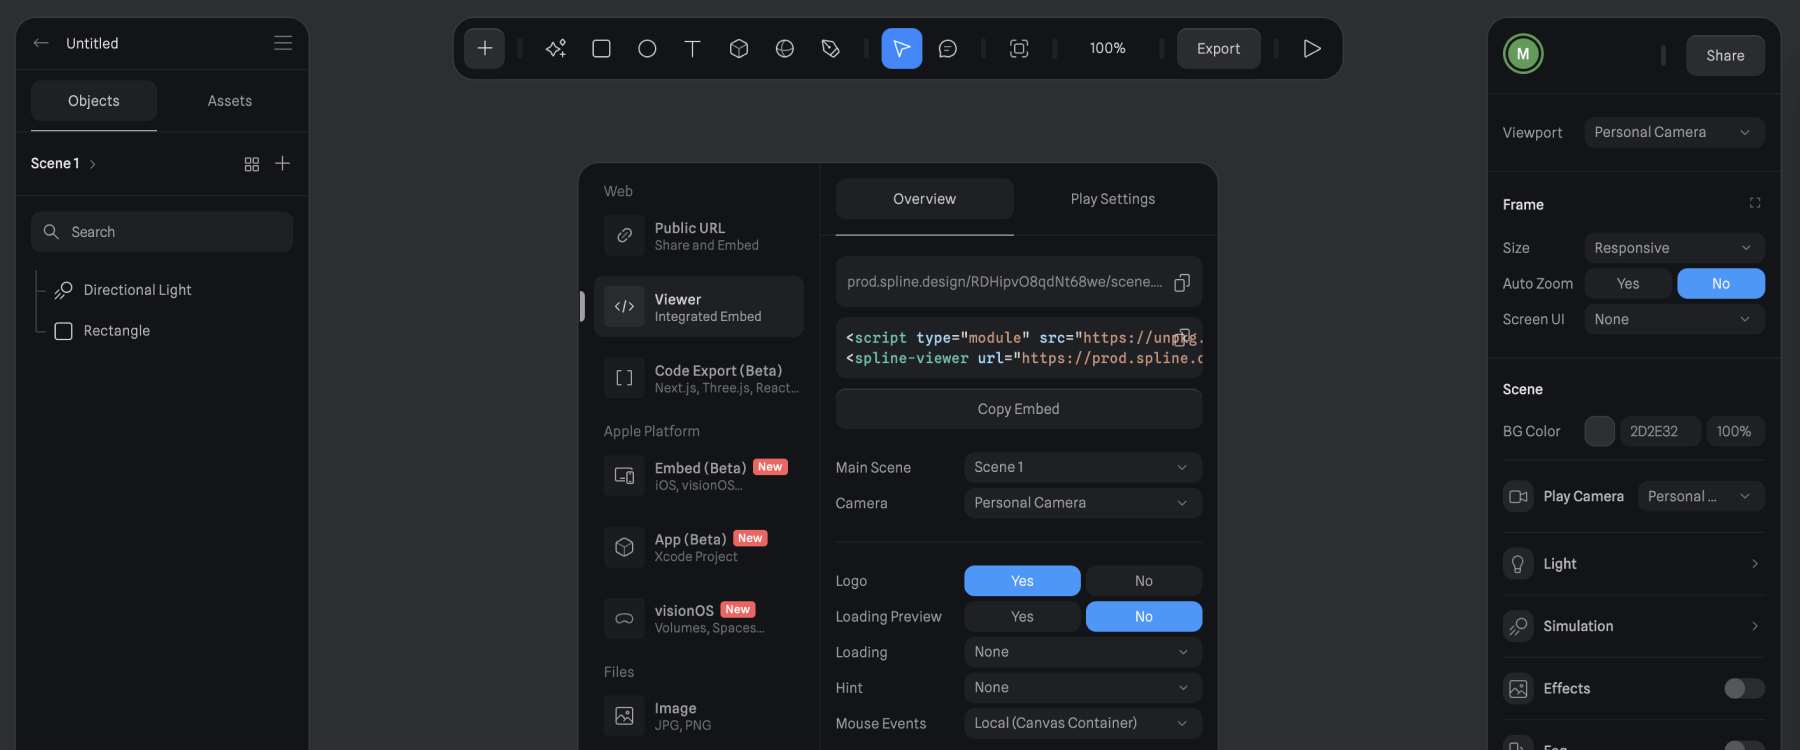
Export the scene from Spline:
- Click on the "Export" button in the top right corner of the Spline interface.
- In the export options, select "Viewer" as the export type.
- Copy the generated URL for your scene.
Add the Spline scene to Webflow:
- In the Webflow Designer, go to the "Add Elements" panel.
- Search for "Spline Scene" and drag it onto your canvas where you want the 3D model to appear.
- In the settings for the Spline Scene element, paste the URL you copied from Spline.

Customize the scene in Webflow:
- Use Webflow's native interactions to add animations or interactivity to your 3D model.
- For example, you can make the model rotate on scroll or change size when a button is hovered over (and many more things, the possibilities are endless).
For more advanced information on how Webflow and Spline interactions work, we strongly suggest that you read the "Integrating with Webflow" documentation from Spline.
Spline utilizes WebGL for rendering, ensuring good performance across modern browsers. The Spline-Webflow integration allows for seamless updates: changes made in Spline are automatically reflected in your Webflow site, streamlining the design process and making it easier to keep your 3D content up-to-date.
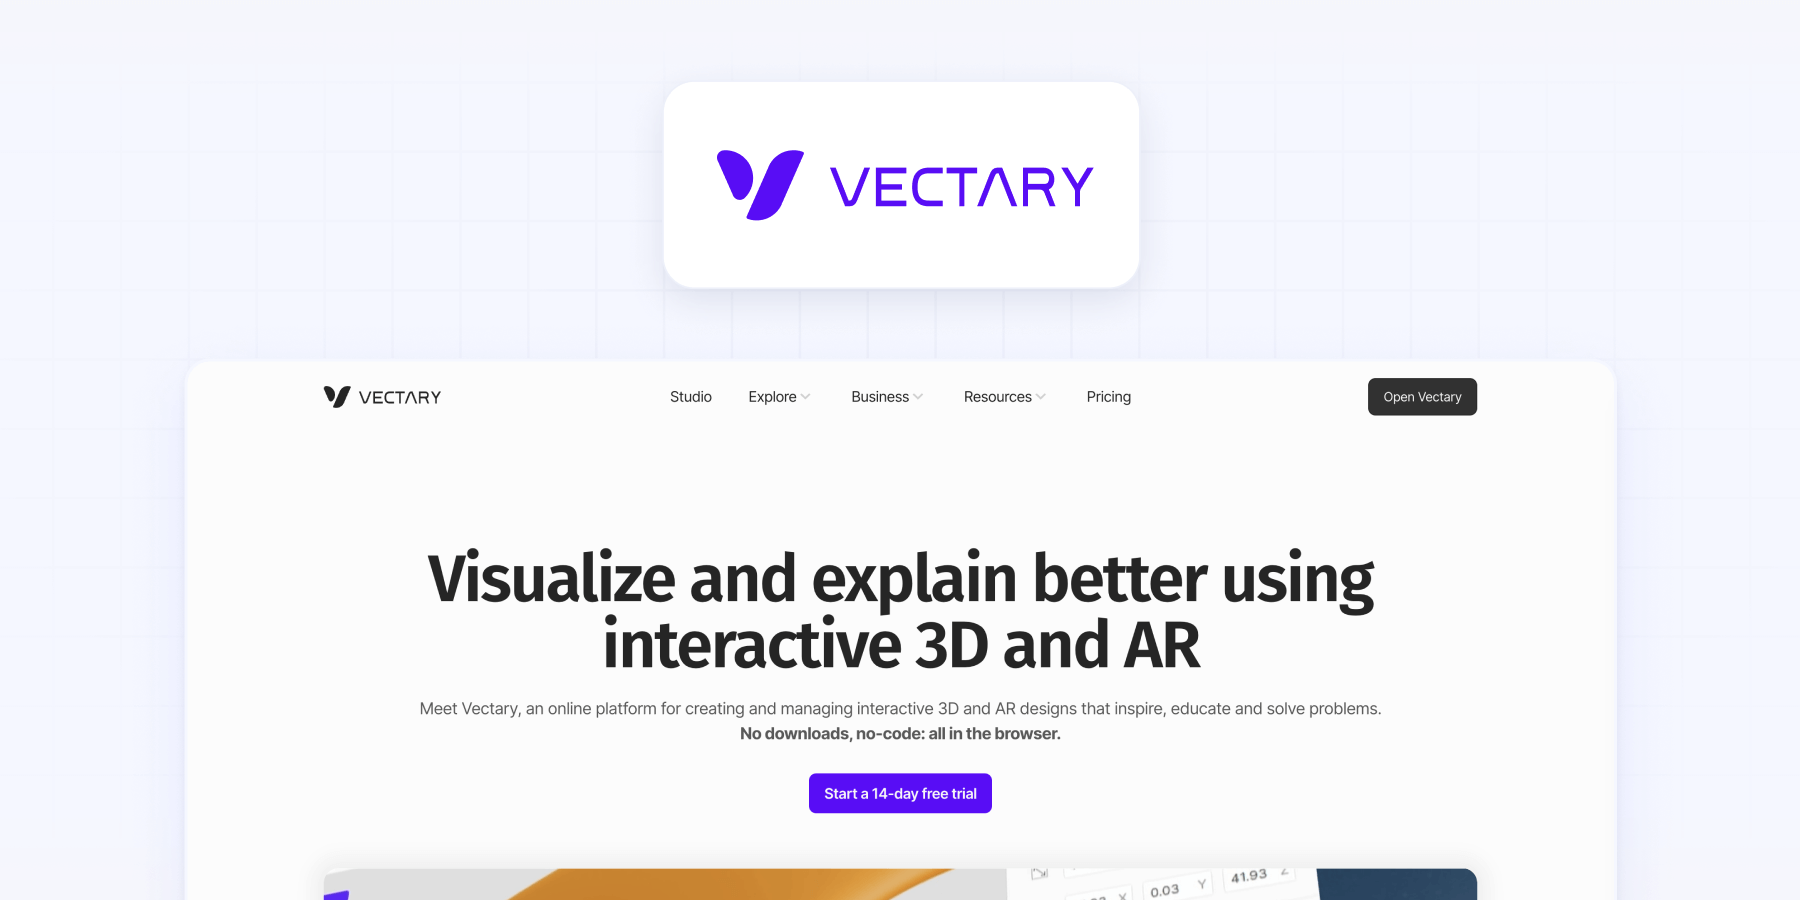
Method 3: Vectary
Vectary is another platform for creating and embedding 3D models. While it doesn't have a native Webflow integration like Spline, it offers a straightforward embedding process and supports advanced features like augmented reality.
It is important to note that you will require a paid plan in order to use Vectary for 3D embedding on Webflow. The monthly cost is $24 if billed annually, or $29 if billed monthly.
Benefits of Vectary
Vectary brings several advantages to the table for embedding 3D models in Webflow. As an established platform, it offers a wide range of features that are useful to both beginners and advanced users. One of its unique features is support for augmented reality, allowing you to create immersive experiences for your website visitors. Vectary also enables complex interactions within the 3D scene itself, giving you fine-grained control over how users engage with your 3D models.
How to implement Vectary:
Create or import your 3D model in Vectary:
- Go to vectary.com and create an account or log in.
- Create a new project or import an existing 3D model.
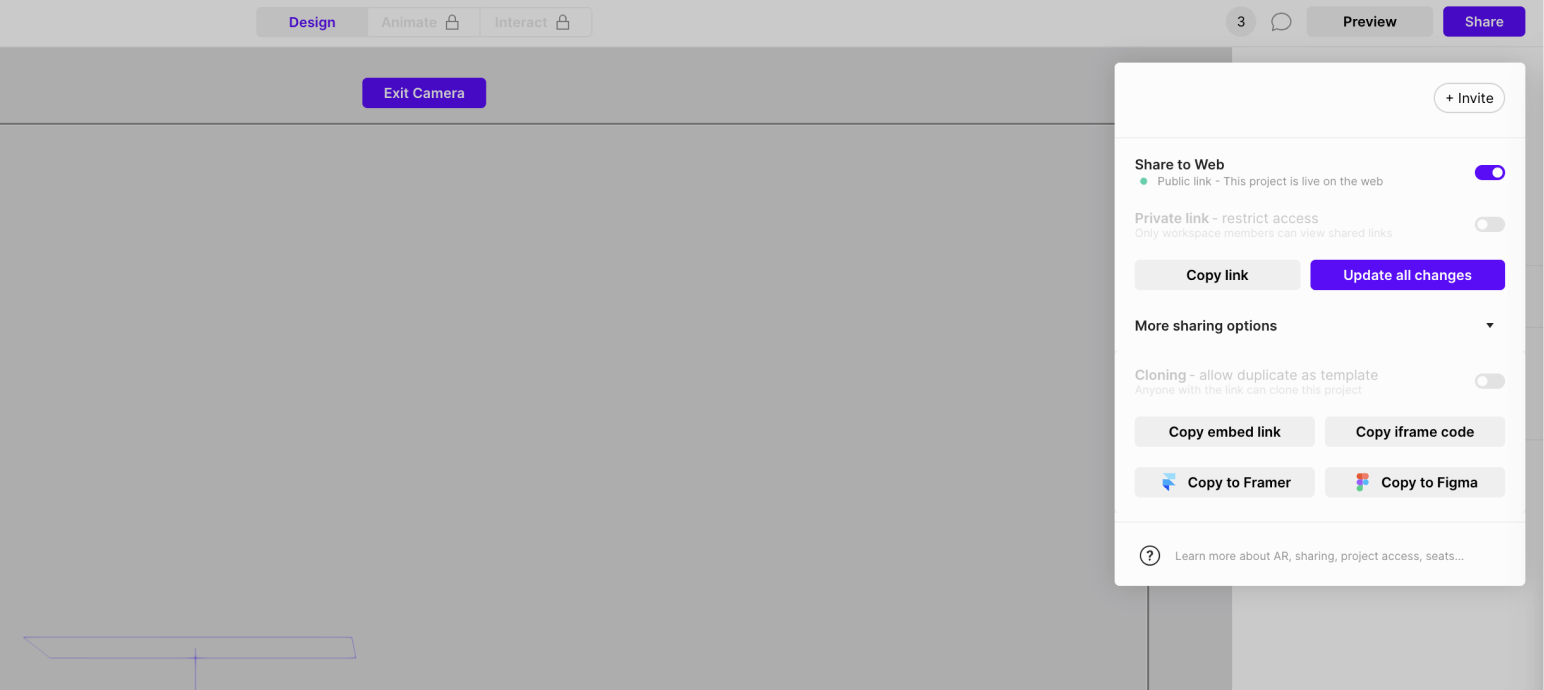
Export the model for embedding:
- In your Vectary project, click on the "Share" button.
- Select "More sharing options".
- Choose "Copy iFrame code".
- Copy the generated iFrame code.
Add the Vectary model to Webflow:
- In the Webflow Designer, add an "Code Embed" element where you want the 3D model to appear.
- Paste the iFrame code you copied from Vectary into the Embed element.
Customize the appearance:
- Adjust the size and positioning of the Embed element in Webflow to fit your design.
- For interactions or animations, you'll need to make these adjustments within Vectary itself. The Vectary platform offers various customization options, allowing you to add interactivity, animations, and other dynamic elements to your 3D model before embedding it in Webflow.
Vectary uses WebGL for rendering, ensuring good performance and compatibility across modern browsers. The platform supports various 3D file formats for import, including OBJ, FBX, and glTF, giving you flexibility in working with different types of 3D models.
Choosing the right method for 3D embedding on Webflow
Each method has its strengths, and the best choice depends on your specific needs:
- Model Viewer: Best for simple 3D model embedding with minimal setup. It's free and easy to implement, making it great for small projects or testing.
- Spline: Ideal if you want seamless integration with Webflow and the ability to create or edit 3D models within the same platform. It's particularly useful if you plan to use Webflow's native interactions with your 3D models.
- Vectary: A good choice if you're already using Vectary for 3D modeling or if you need advanced features like augmented reality. It's also suitable for complex 3D scenes with multiple interactive elements.
Conclusion
Now you know how to make your 3D models come to life on your Webflow site, whether you choose the ease of use of Model Viewer, the built-in interactions of Spline, or the more advanced features of Vectary.
If you need assistance with implementing 3D models in your Webflow project, don't hesitate to reach out to our Webflow agency — We're here to help you create impressive, interactive 3D experiences for your website visitors.