If you are a Web Designer or Web Developer looking to bulk import 301 redirects into your Webflow website, search no more, as in this article we will explain a simple, fast, and non-technical way to do it.
Before starting with that, we will go over a brief introduction about what is a 301 redirect, so you can understand the technical side of it.
Websites often redirect visitors from one URL to another, and this is typically done with a redirection type called 301 redirect.
In technical terms, a 301 redirect is a HTTP response code (aka an instruction to the browser) that indicates that a page has been moved to a new URL, and it redirects the browser to this new URL, so the page doesn’t return a 404.

There are many uses cases for 301 redirects, such as:
- Redirect an outdated page into a new page
- Redirect pages that have been deleted to avoid users getting a 404 error
- Redirect from an old domain to a new domain when doing a rebranding
- Redirect URLs with backlinks to pass SEO authority in between pages
- and many more use cases
In order to create a 301 redirect on Webflow you can go into your Webflow Project Settings>Publishing, and then if you scroll to the bottom, you will find the 301 Redirects section.
However, you will realize you can only add the redirects manually one by one, and if you have a big Webflow project, or if you are handling a big migration to Webflow with hundreds (or thousands) of URLs, doing this manually can probably take hours.
But don’t worry, there is no need to manually add the redirects one by one. Instead, follow the instructions below.
Bulk import 301 redirects to Webflow
There are multiple ways to bulk import 301 redirects to Webflow, however, some of them (like using a JS code and an XML file) may be very complicated, so to make things easy, we will use the simpler solution that leverages the powerful Finsweet Extension for Google Chrome.
The process is the following:
1. Install the Finsweet Extension from the Chrome Web Store
2. Go into your Webflow Project Settings > Publishing > 301 Redirects
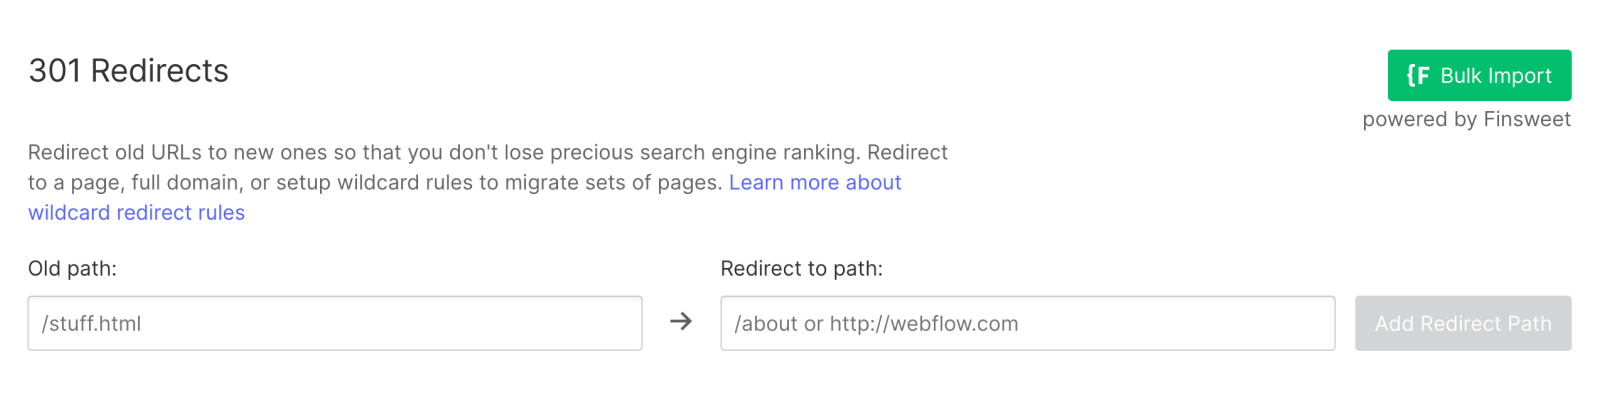
3. Click on the ‘Bulk Import’ button with the Finsweet logo
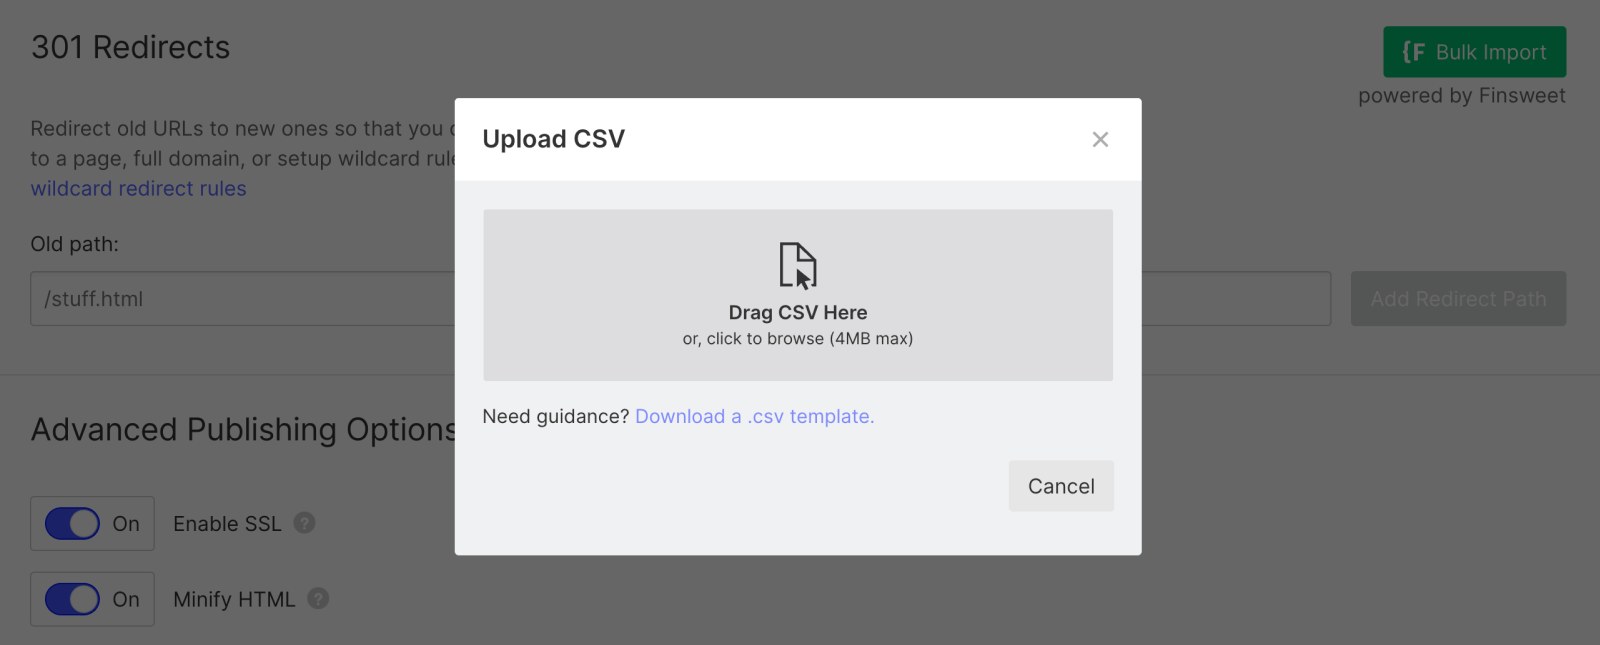
4. Click on Download a .csv template to download the template with the format on how you should import your 301 redirects.
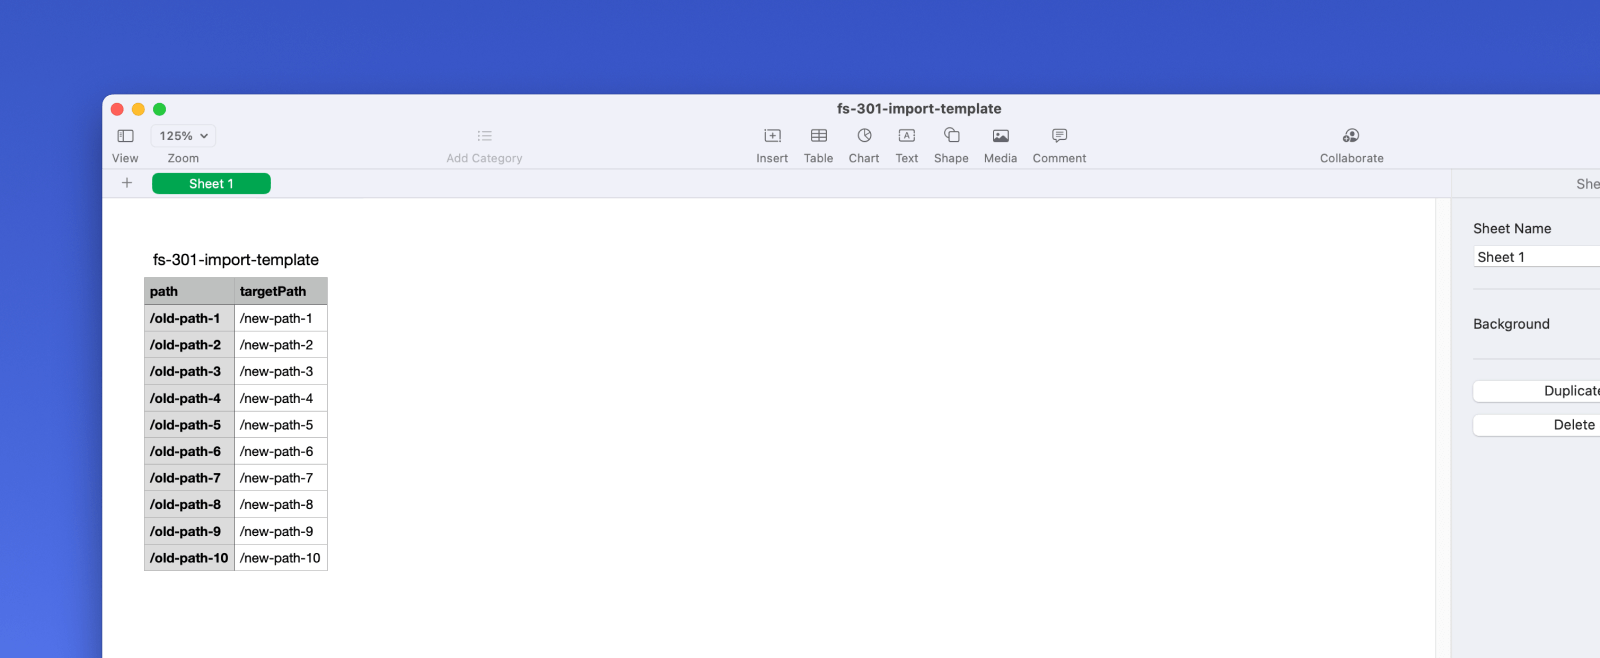
If you are not familiar with it, CSV file format stands for comma-separated values and its a text data file that can be edited with any modern spreadsheet software.
You can edit it with Microsoft Excel, Google Sheets, or Numbers in macOS, so choose your favorite and open the file.
5. Once you open the file, you just need to copy and past all your redirects as shown in the CSV file (paths on left column, and target paths on right column).
6. After adding all your URLs in the CSV file, just Save it as CSV and Upload it in the Upload CSV window. The extension will automatically start processing all of the redirects, and you will see a progress bar of how all of them are being added super quickly.
And that’s all 🎉, after a few seconds, you will have all of your 301 redirects imported into your Webflow website without doing manual and boring work.
If you are looking for a Webflow Expert agency that offers a done-for-you service for migrating your website to Webflow, and doing it properly to preserve all your SEO authority, feel free to get in touch with us below.